I was having a moan about my NAS (a Western Digital My Cloud) the other day and thought that I could build a better one using a Raspberry Pi.
Now, using a Raspberry PI as a DIY NAS is nothing new. You only need to google for ‘Raspberry Pi NAS’ to see what I mean. I wanted something a bit different. I wanted something scalable and redundant. I’d heard about Gluster before and knew roughly what it could do, but never really played with it. This is a perfect opportunity then. Sure there are several posts around the internet of people doing the exact same thing, but I wanted to give it a go anyway.
This post is going to be a brief guide on what I set up and how you can replicate it. I’m not going to go into huge detail on any of the technologies I used, there’s plenty of resources that already do that.
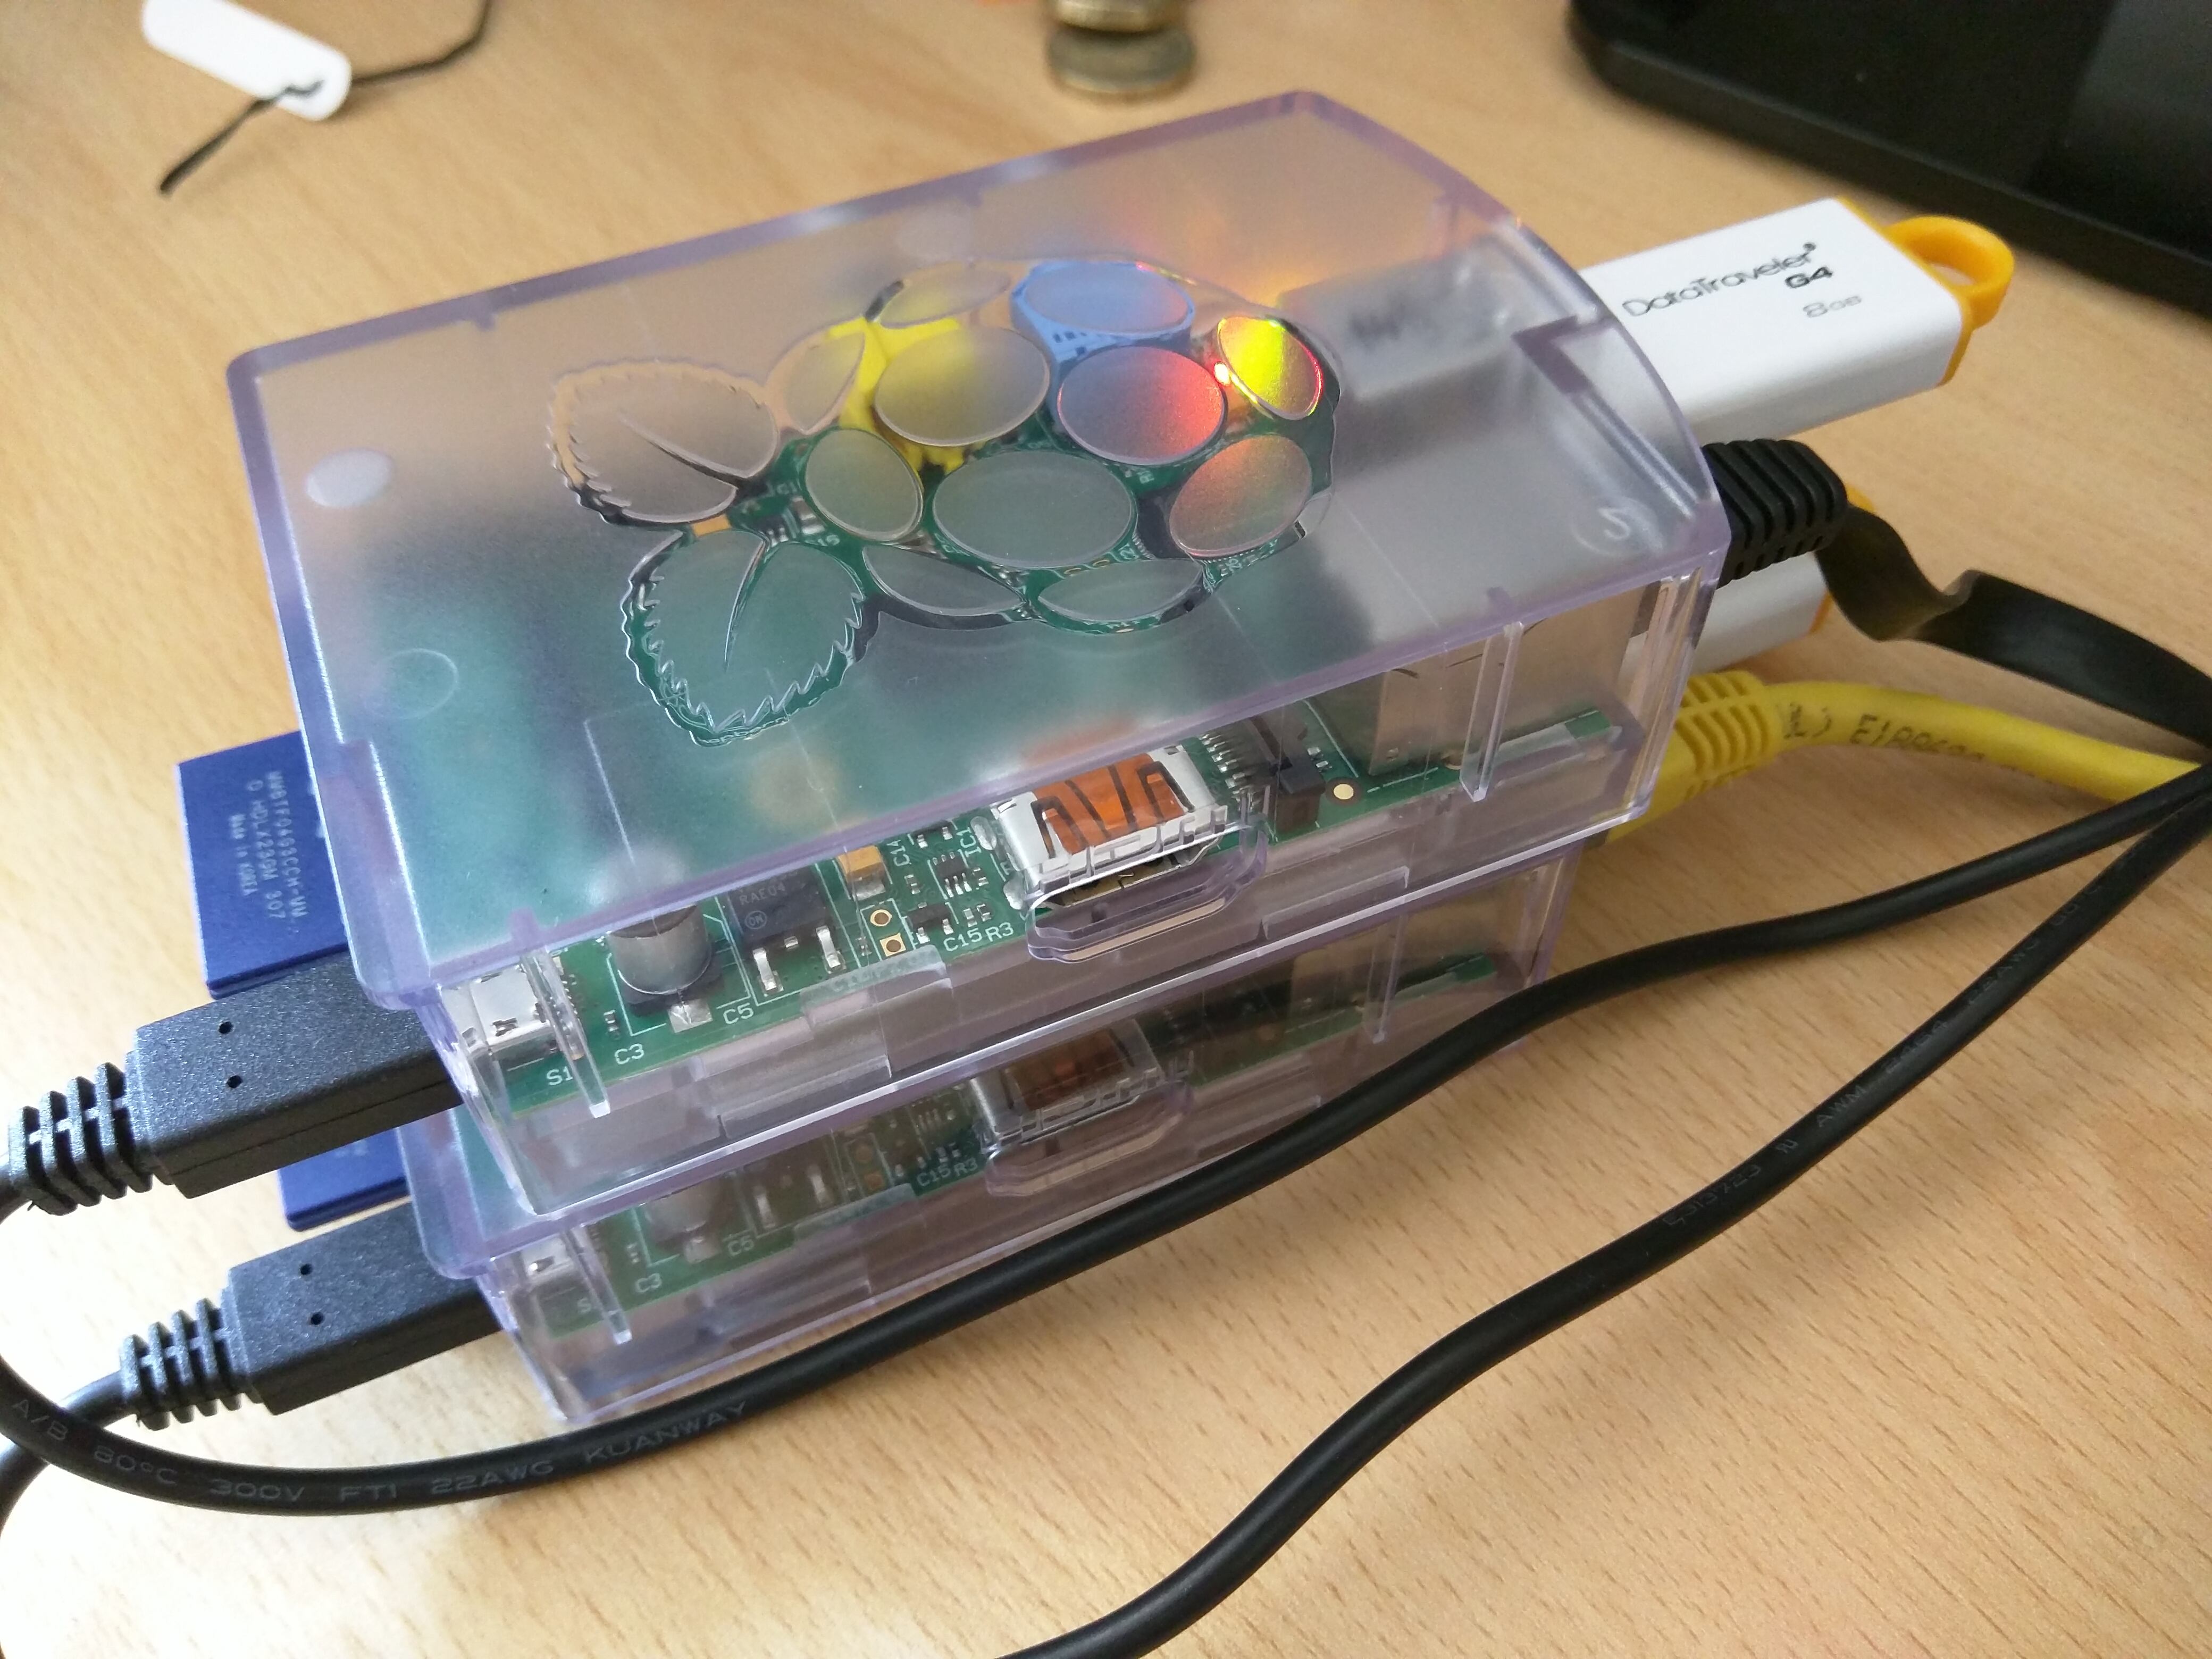
This is what I ended up with:
- 2 Raspberry PI 1 Model B’s
- 2 8GB USB Sticks
- GlusterFS with a single replicated volume
- Samba for Windows File shares
- VRRP to present a single IP and some automatic failover
Preparation
To start with you’ll need two Raspberry Pi’s. By the way, this will work on any Debian based operating system. I’m using Raspbian Wheezy on a Raspberry Pi 1, but it’ll work just as well on Ubuntu on an x86 system. Also, I know Wheezy is quite old now, but it’s the only one that’ll easily fit on the 4GB SD cards I had to hand.
On each node you need to create a file system for Gluster to use. I used XFS on the USB sticks.
Install xfsprogs:
apt-get install xfsprogs
My USB disks appears as /dev/sda, so to format them to XFS:
mkfs.xfs -i size=512 /dev/sda1
Make a directory to mount this on:
mkdir -p /data/brick1
And finally, make sure this gets mounted at boot by adding the following to /etc/fstab:
/dev/sda1 /data/brick1 xfs defaults 1 2
Finally, mount it:
mount -a
Now, you may find you get an error at this point. I did, but I think that’s because I had updated the kernel just before and hadn’t rebooted. If it fails with an error like unknown filesystem xfs, then reboot the node and try again.
You can check if the volume is mounted by looking at the output of mount:
/dev/root on / type ext4 (rw,noatime,data=ordered)
devtmpfs on /dev type devtmpfs (rw,relatime,size=218416k,nr_inodes=54604,mode=755)
tmpfs on /run type tmpfs (rw,nosuid,noexec,relatime,size=44540k,mode=755)
tmpfs on /run/lock type tmpfs (rw,nosuid,nodev,noexec,relatime,size=5120k)
proc on /proc type proc (rw,nosuid,nodev,noexec,relatime)
sysfs on /sys type sysfs (rw,nosuid,nodev,noexec,relatime)
tmpfs on /run/shm type tmpfs (rw,nosuid,nodev,noexec,relatime,size=89060k)
devpts on /dev/pts type devpts (rw,nosuid,noexec,relatime,gid=5,mode=620,ptmxmode=000)
/dev/mmcblk0p1 on /boot type vfat (rw,relatime,fmask=0022,dmask=0022,codepage=437,iocharset=ascii,shortname=mixed,errors=remount-ro)
/dev/sda1 on /data/brick1 type xfs (rw,relatime,attr2,inode64,noquota)
As you can see, at the bottom there’s a line with /dev/sda1 on /data/brick1 type xfs.
Gluster
Now that the nodes are ready, we can install gluster
apt-get install glusterfs-server
That’ll take a bit of time, but the service should start automatically. Then you need to probe each node from the other one to register them in Gluster.
From node1:
gluster peer probe node2
From node2:
gluster peer probe node1
In each case you should see something like this:
root@node1:/home/pi# gluster peer probe node2
Probe successful
Next, we need to make the Gluster volume.
On each node:
mkdir /data/brick1/gv0
and then on one of the nodes:
gluster volume create gv0 replica 2 node1:/data/brick1/gv0 node2:/data/brick1/gv0
followed by:
gluster volume start gv0
You should see success messages which means it’s time to test your new Gluster volume.
On one of the nodes, make a directory and mount the gluster volume onto it:
mkdir -p /mnt/gv0
mount -t glusterfs node1:/gv0
The should succeed without errors, then you can create a file in /mnt/gv0:
touch /mnt/gv0/testfile
and it should appear on both nodes in /data/brick1/gv0:
root@node1:~# ls /data/brick1/gv0/
testfile

root@node2:~# ls /data/brick1/gv0/
testfile
That’s Gluster done.
Windows File Share
Next up, we can install Samba on our nodes to present a Windows file share.
I’m choosing to put Samba on the Gluster Nodes and share the mounted volume /mnt/gv0. There are plenty of other ways to do this, and I suspect a ‘best practice’ would probably be to have one or two additional machines to present the file shares and the leave the Gluster nodes to just do Gluster. But, I only have two PIs spare at the moment…
First things first, we need to mount the Gluster volume on both nodes. First, make a directory for it on both nodes:
mkdir -p /mnt/gv0
Then add the following to /etc/fstab on node1:
node1:/gv0 /mnt/gv0 glusterfs defaults 0 0
and add this to /etc/fstab on node2:
node2:/gv0 /mnt/gv0 glusterfs defaults 0 0
Now, on both nodes install samba:
apt-get install samba
and edit the config file at /etc/samba/smb.conf.
In the global section you’ll want:
security = user
guest account = nobody
and then a share section that looks like this:
[gluster]
    guest ok = yes
    path = /mnt/gv0
    read only = no
Next, make sure that /mnt/gv0 is writeable by Samba on both nodes. I opted for the lazy approach:
chmod 777 /mnt/gv0
and finally, restart the Samba service to make the config active:
/etc/init.d/samba restart
You can of course adjust all those settings to own desires. That will give you an anonymous writeable share. You may want more security than that.
Testing
Time for a quick bit of testing.
With Samba installed and configured you should be able to browse to \\node1\ and \\node2\ from a Windows machine on your network and see a folder share called gluster. You should also be able to write to that share in both instances.
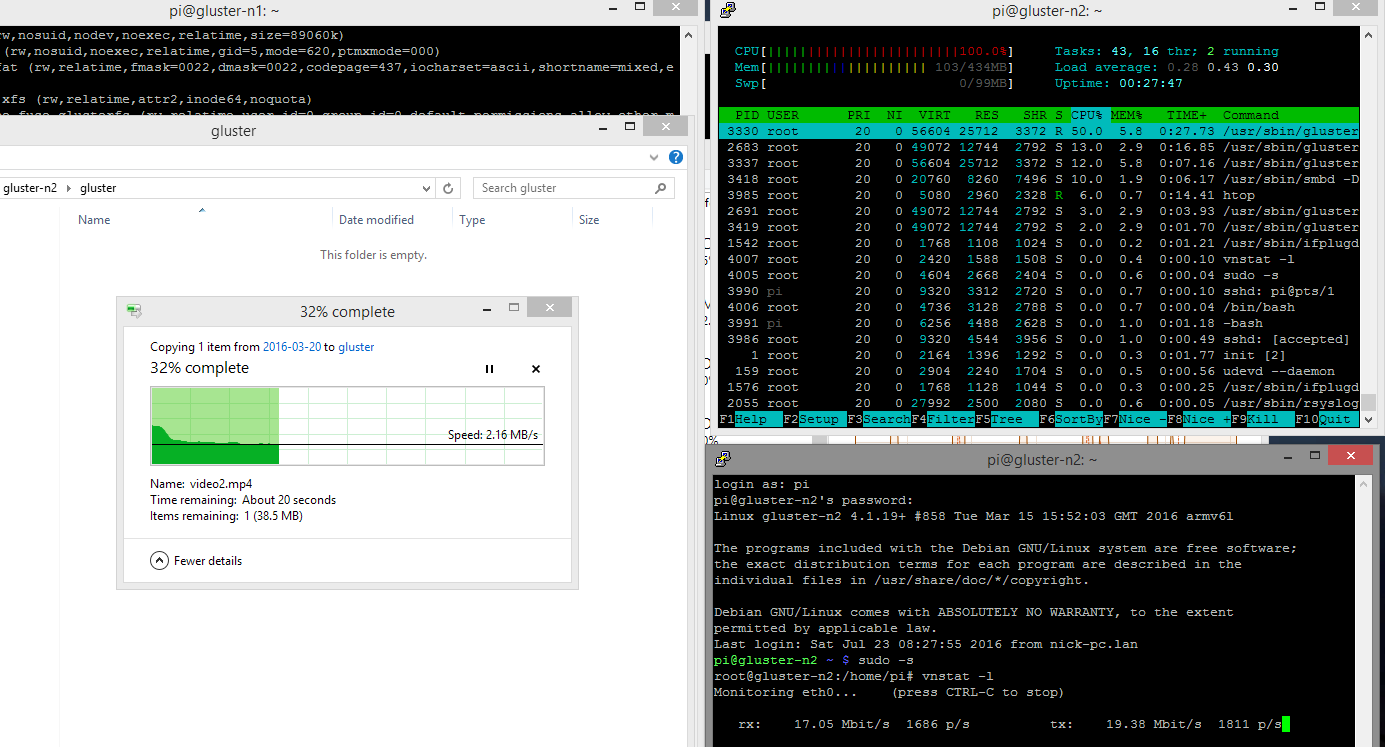
I did a quick bit of performance testing and found that a 100Mb file copied at about 20mbit/sec. That is not quick by any stretch of the imagination, but as you can see from the screenshot below, my poor Raspberry PI’s CPU was working flat-out.
I did another test where I accessed a folder directly in Samba instead of using Gluster and saw an improvement up to 65mbit/sec. Again, that maxed out the CPU, but at least Samba could use it all instead of sharing with Gluster.
It would be interesting to see what the performance would be like using a Raspberry Pi 3… I have some spare ones at work at the moment…perhaps I’ll borrow them and update this post with the results…
VRRP
Finally, our little project isn’t complete without some automatic failover.
At the moment, to access the samba share we have to point to one of the Gluster nodes directly. If that node went offline, then we’d have to manually switch to using the other one. Lets fix that. Enter, VRRP. Or more specifically in this case, keepalived.
VRRP is a protocol that allows two or more devices to share a single IP. It’s only active on one node at a time, but if that should fail another immediately brings that IP up. Keepalived is an application that implements this protocol.
Install it on both nodes:
apt-get install keepalived
I’m going to use 192.168.1.80 as my Virtual IP, but you should use any IP in your subnet that isn’t used part of your DHCP range.
Next, create the /etc/keepalived/keepalived.conf config file and one the primary node enter this:
vrrp_instance VI_1 {
        state MASTER
        interface eth0
        virtual_router_id 51
        priority 150
        advert_int 1
        authentication {
                auth_type PASS
                auth_pass somerandompassword
        }
        virtual_ipaddress {
                192.168.1.80
        }
}
Then, on the second node, enter this:
vrrp_instance VI_1 {
        state MASTER
        interface eth0
        virtual_router_id 51
        priority 100
        advert_int 1
        authentication {
                auth_type PASS
                auth_pass somerandompassword
        }
        virtual_ipaddress {
                192.168.1.80
        }
}
Both files are very similar.
priorityshould be lower on the slave nodevirtual_router_idcan be anything, but must be the same one both nodesauth_passshould be some secure password and be identical on both nodesinterfaceshould refer to your network inferface, eth0 in my case.
Next, start keepalived:
/etc/init.d/keepalived start
and then give it a try by browsing to \\192.168.1.80\ (or whatever IP you used) from a Windows machine. You should see your gluster share and your files. At this point you’ll probably want to assign a DNS address to that IP if you have the capability to do so.
Final thoughts
This seems like an excellent way to get yourself a DIY NAS which features both redundancy and effectively unlimited scaling capacity. Gluster can do more than just replication – you can stripe files across nodes which means you could have 4 nodes, with a replica count of 2 to ensure redundancy. Need a bit more space? Just add another node, or another USB hard drive to an existing one and create a new brick. I also notice that Gluster can do geo-replication. I haven’t looked into it, but that could present an opportunity to make an asynchronous offsite copy of your data.
On a Raspberry Pi 1 it’s not very fast, but if you don’t care about access time then it’s a perfect use for them. Pi 3’s will probably be much faster, and at about £30 they’re pretty cheap too. You might not get all the value add features that a company like Western Digital will give you, but if you don’t care about that, then for the same amount of money you’ll get a much better NAS.
Sources
I used a few different sources when researching this:
- The Gluster Quick Start Guide is an excellent peice of documentation. Simple and to the point, with options to dive off into the more in depth Gluster documentation if you want to.
- The Anonymous Share on the Samba Wiki was a very handy page for quickly reminding me of the options I needed to set to get a simple share up and running in Samba.
- Finally, this guide from raymii.org was very helpful for getting keepalived set up quickly.