During my time off work I started on a project I’ve been wanting to do for a while now. I wanted to make a home dashboard that displayed, at least, our shared google calendar. If it could show other information as well, then so much the better.
I was spurred in to action after spotting a couple posts on Intructables of people doing similar things here and here. I’d also seen countless examples of people creating smart mirrors using similar techniques.
I starting investigating a bit further about how I could embed a google calendar into a web page, when I came across Dakboard which has a bunch of integrations and gives you a nice dashboard at the end of it.
Software
First things first, I set up Dakboard how I wanted it. I intergrated it with my Google Calendar, my Google Photos library, our shared todo list on Wunderlist, and got it to pull in weather from Yahoo.
Configuring the Raspberry Pi was realtively simple as well.
First off, we need to rotate the display.
Set display_rotate = 1 in /boot/config.txt. I also had to disable overscan by setting disable_overscan = 1 as well.
Next, install chromium by running apt-get install chromium-browser and finally update the autostart file to launch chromium on boot into kiosk mode.
Edit /home/pi/.config/lxsession/LXDE-pi/autostart to include
@chromium-browser --noerrdialogs --incognito --kiosk <url>
and replace <url> with your Dakboard URL.
Note that the location of that file seems to change between versions of raspbian, this is where it was on the latest version as of August 2017.
You may also want to install unclutter which will hide the mouse pointer for you by running apt-get install unclutter. You’ll then need to add the following to the autostart file:
@unclutter -display :0 -noevents -grab
If you haven’t already, you may also need to set Raspbian to auto login which you can do in the raspi-config program.
One last thing I added was automatically switching the display off. I didn’t want it lighting up my hall all night, so I created two cron jobs to switch the display on and off.
To turn the display off, run /usr/sbin/tvservice -o and back on again /usr/sbin/tvservice -p. This puts the display into standby and should work on most displays connected via HDMI. DVI and VGA connections may not work as well (or even at all).
I put those commands into the crontab file for the root user, and had the screen turn on at 8am and off at 10pm.
* 8 * * * /usr/bin/tvservice -p
* 22 * * * /usr/bin/tvservice -o
To test that it all works, reboot your system and it should start up, auto login, and display your webpage.
Hardware
There are two main parts to the hardware – the display and the frame.
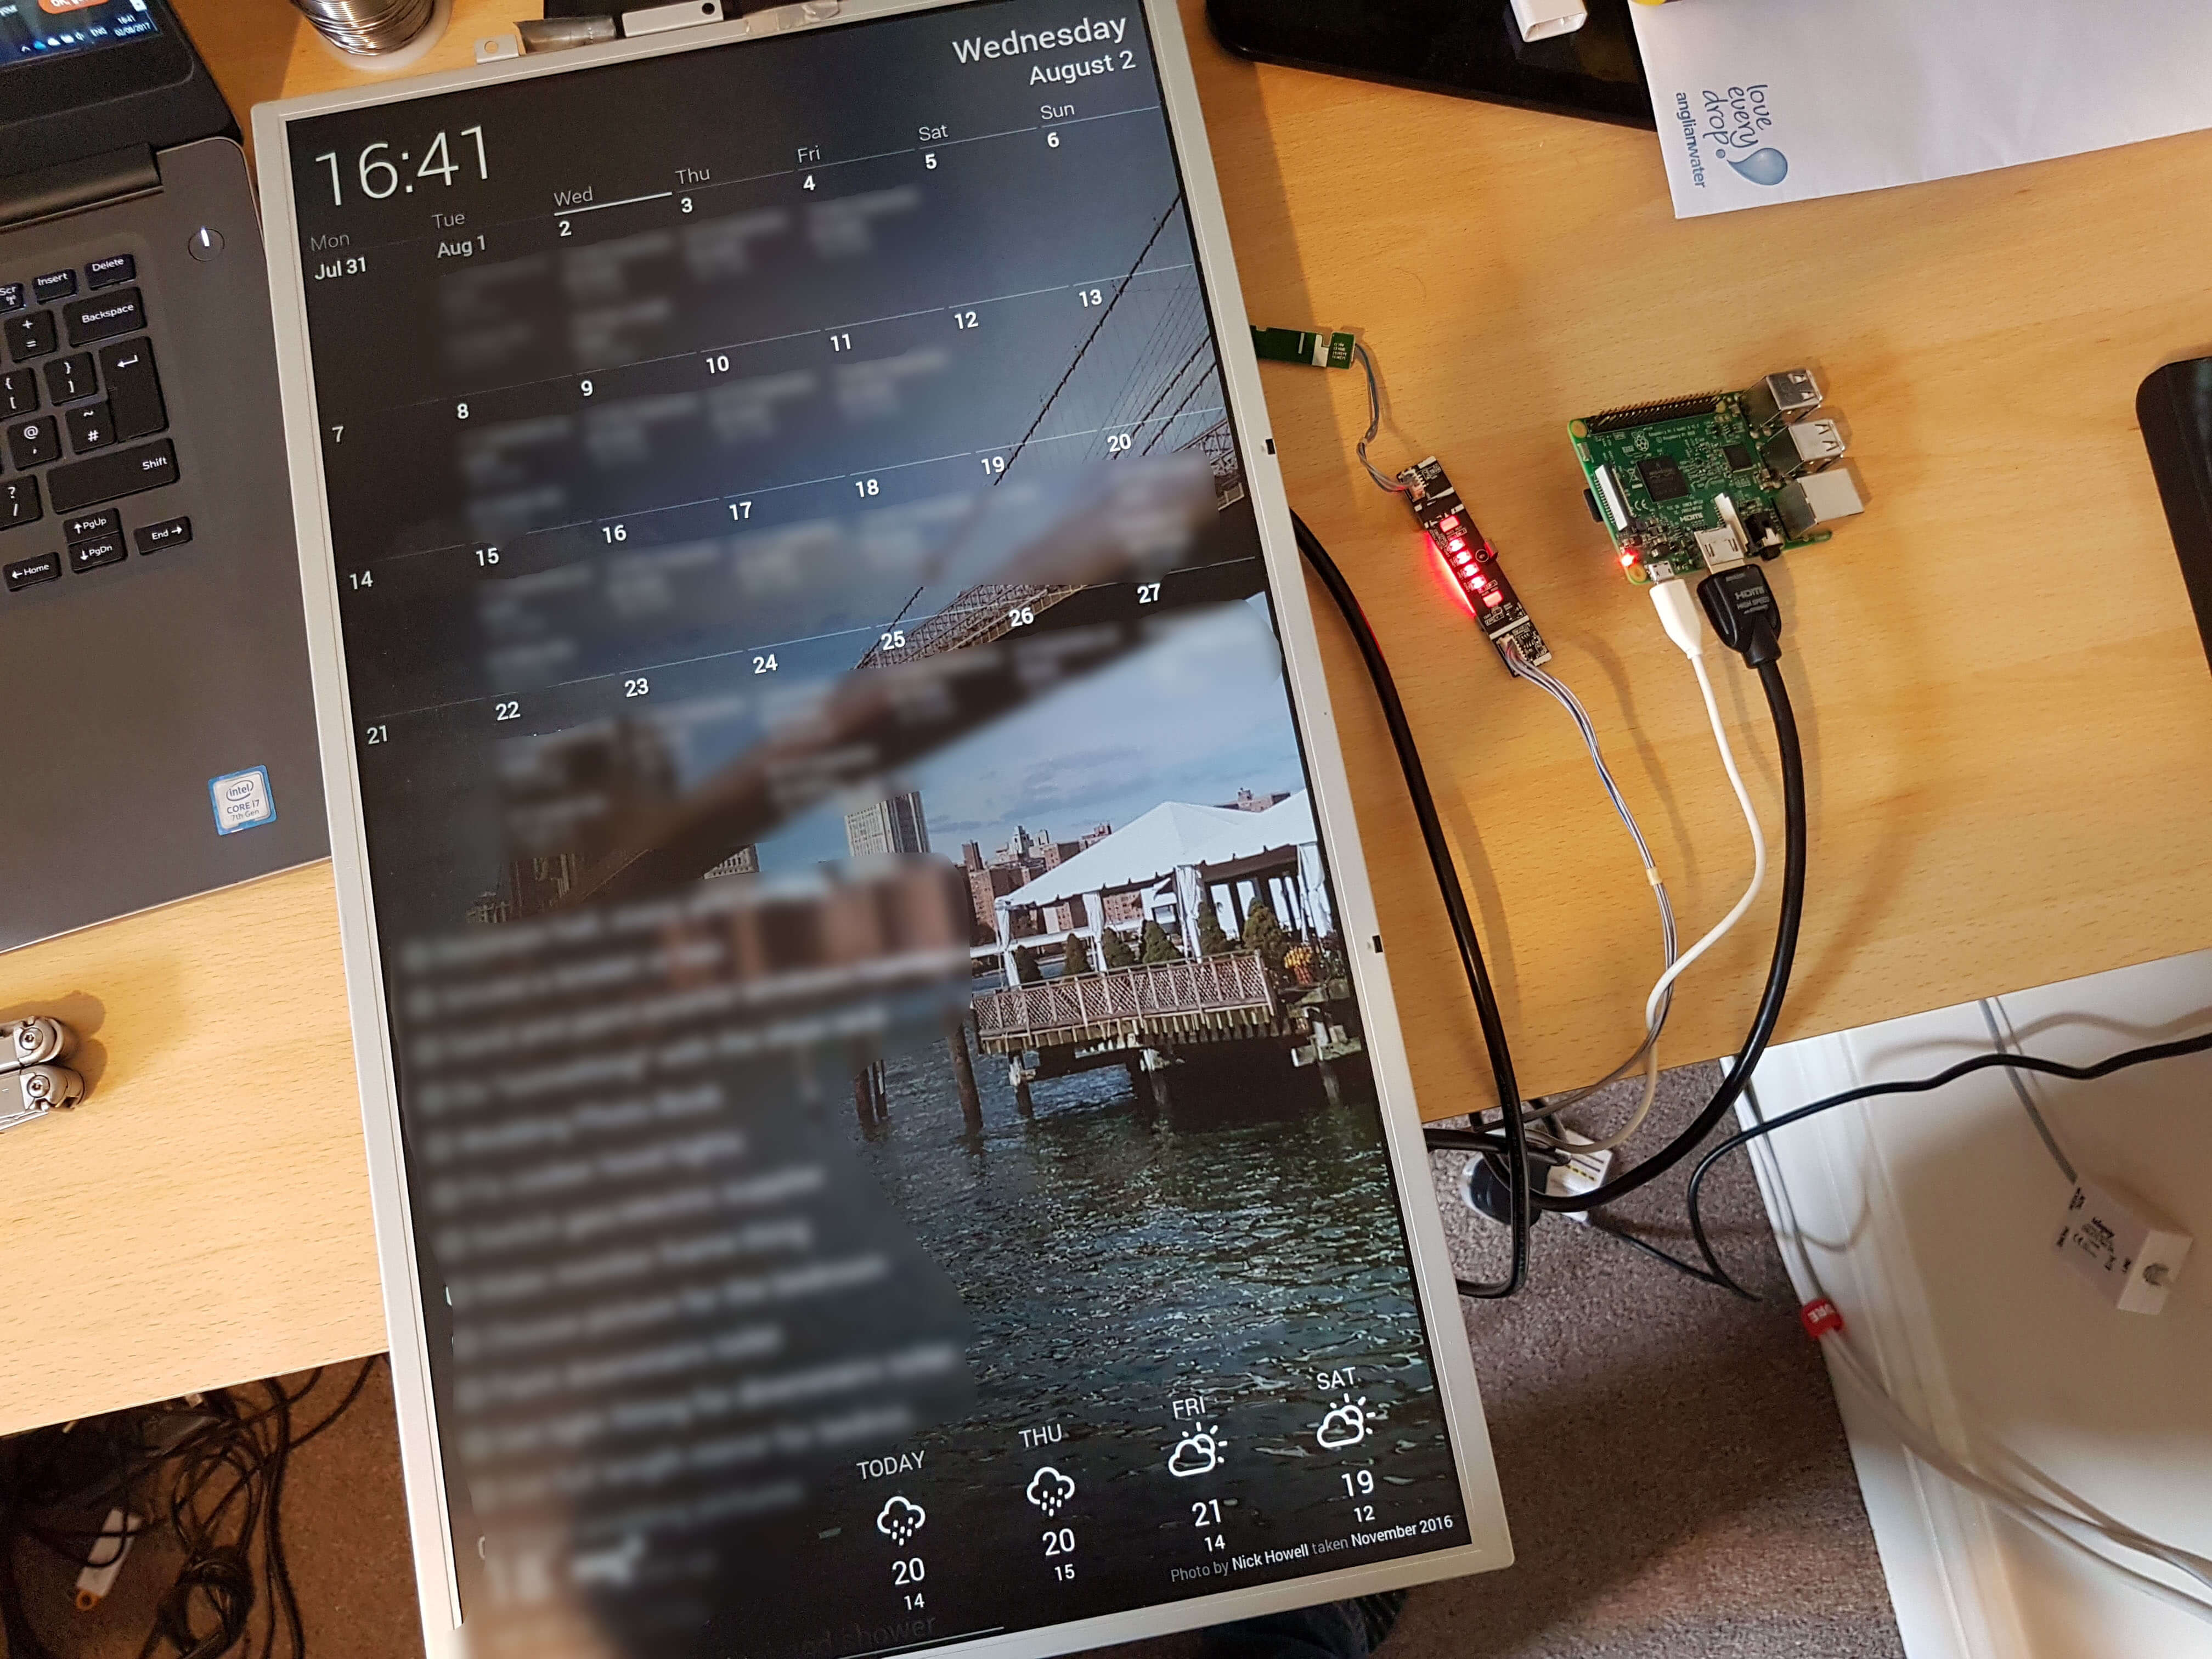
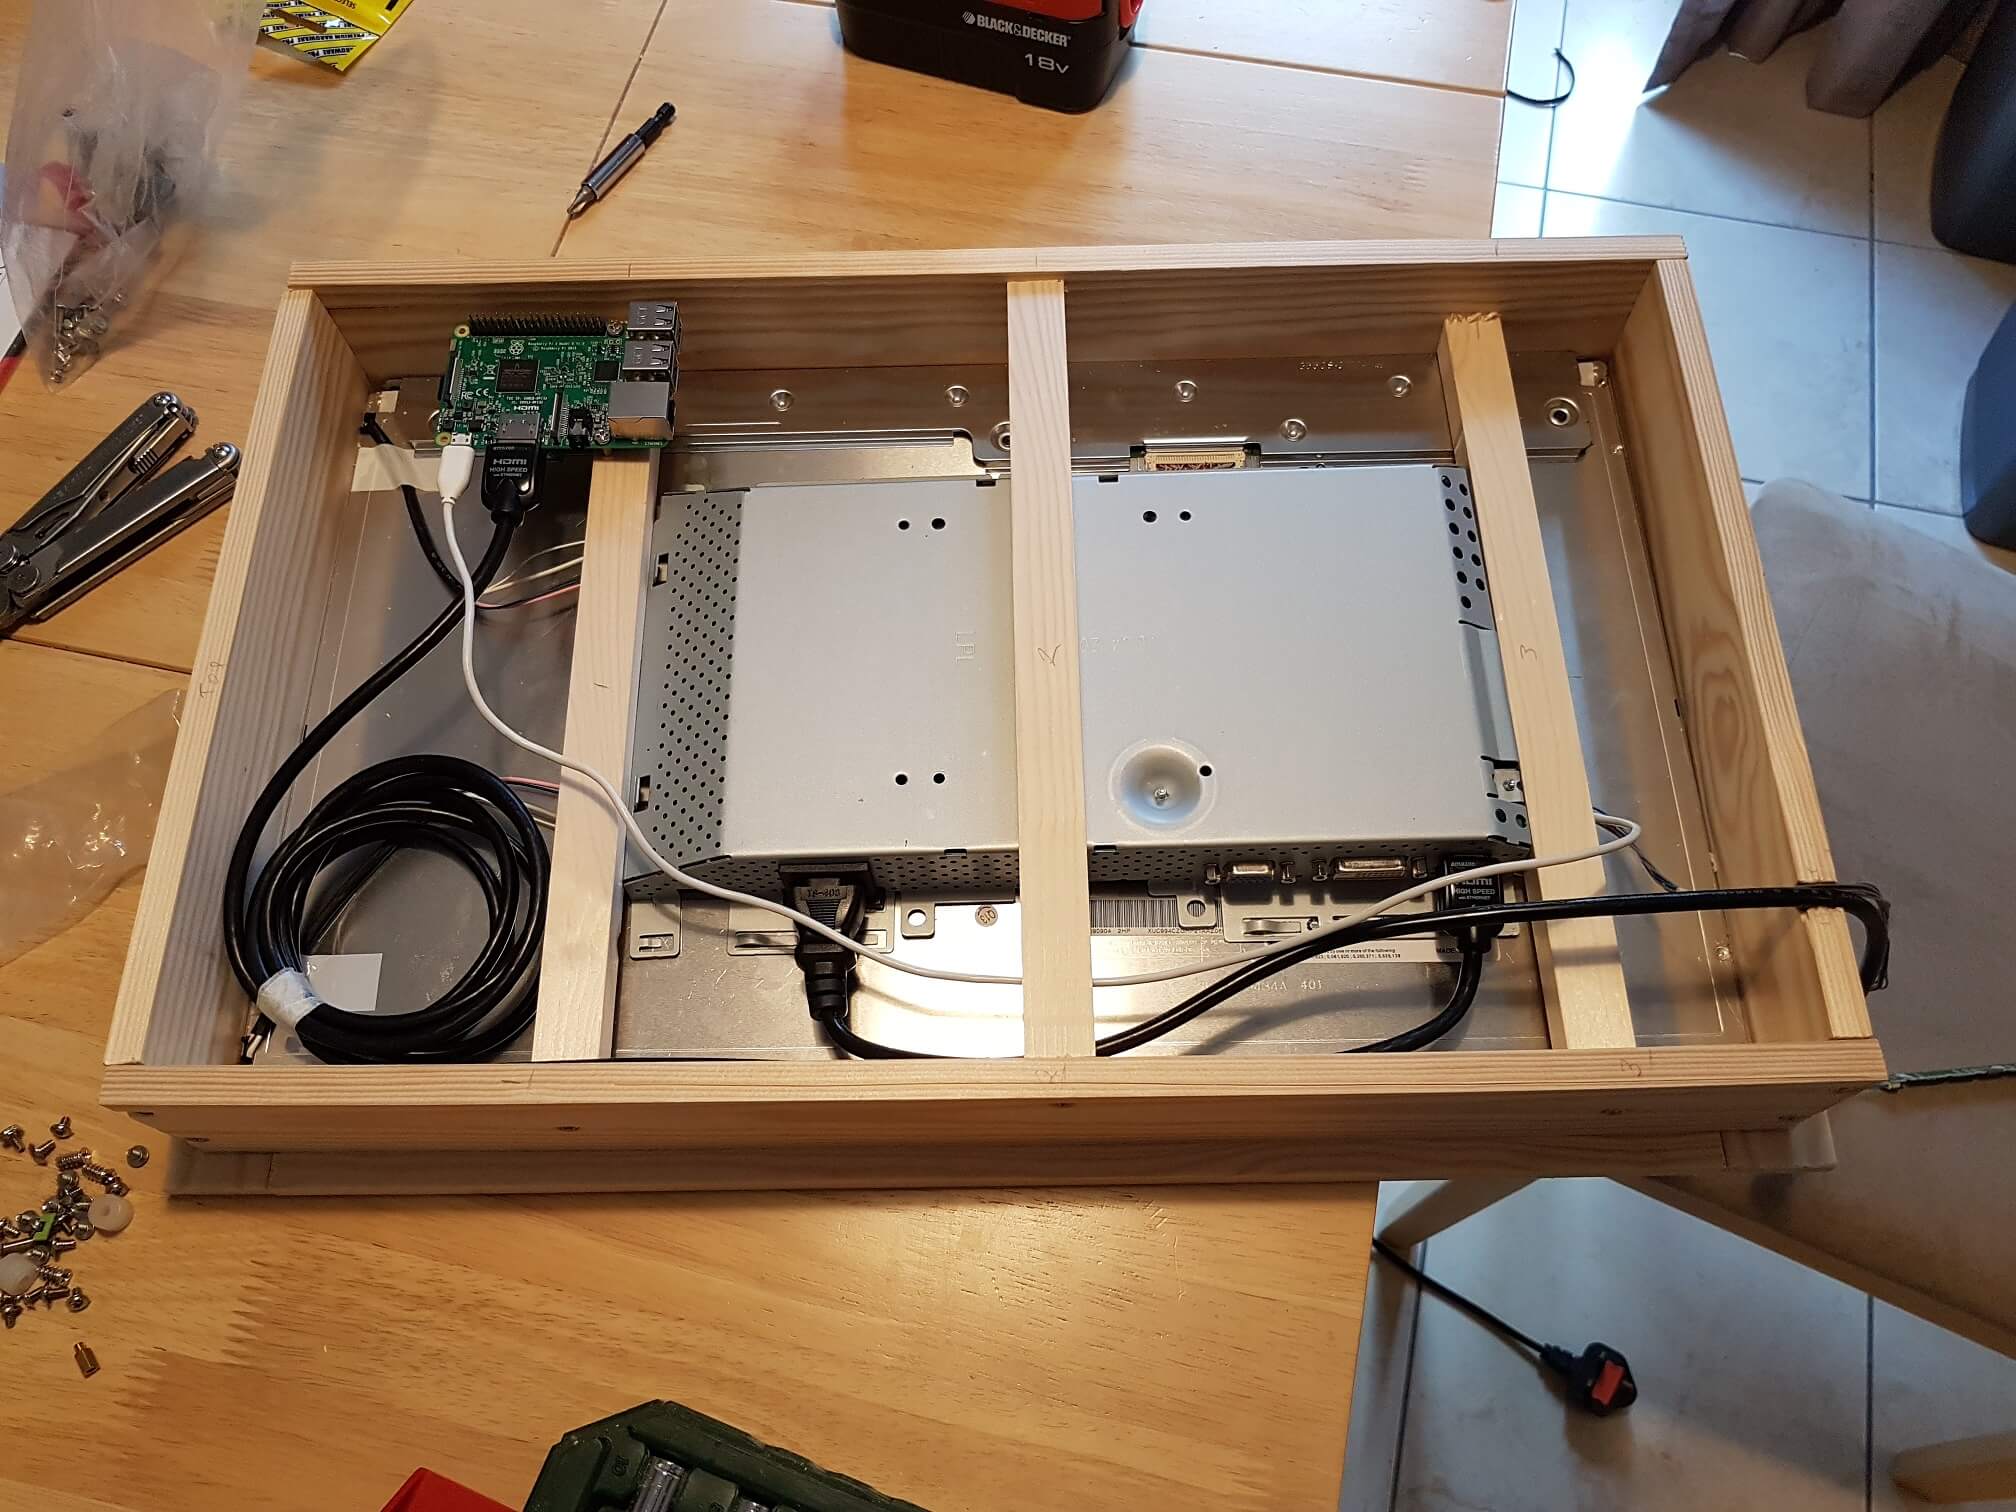
For the display, I had some spare Raspberry Pi’s and an old monitor lying around. I put together a quick proof of concept, and quickly found that although it worked and the dashboard looked great, the old Pi 1’s were not powerful enough to render the webpage in a timely fashion. So I ordered a brand new Raspberry Pi 3, which is much better.
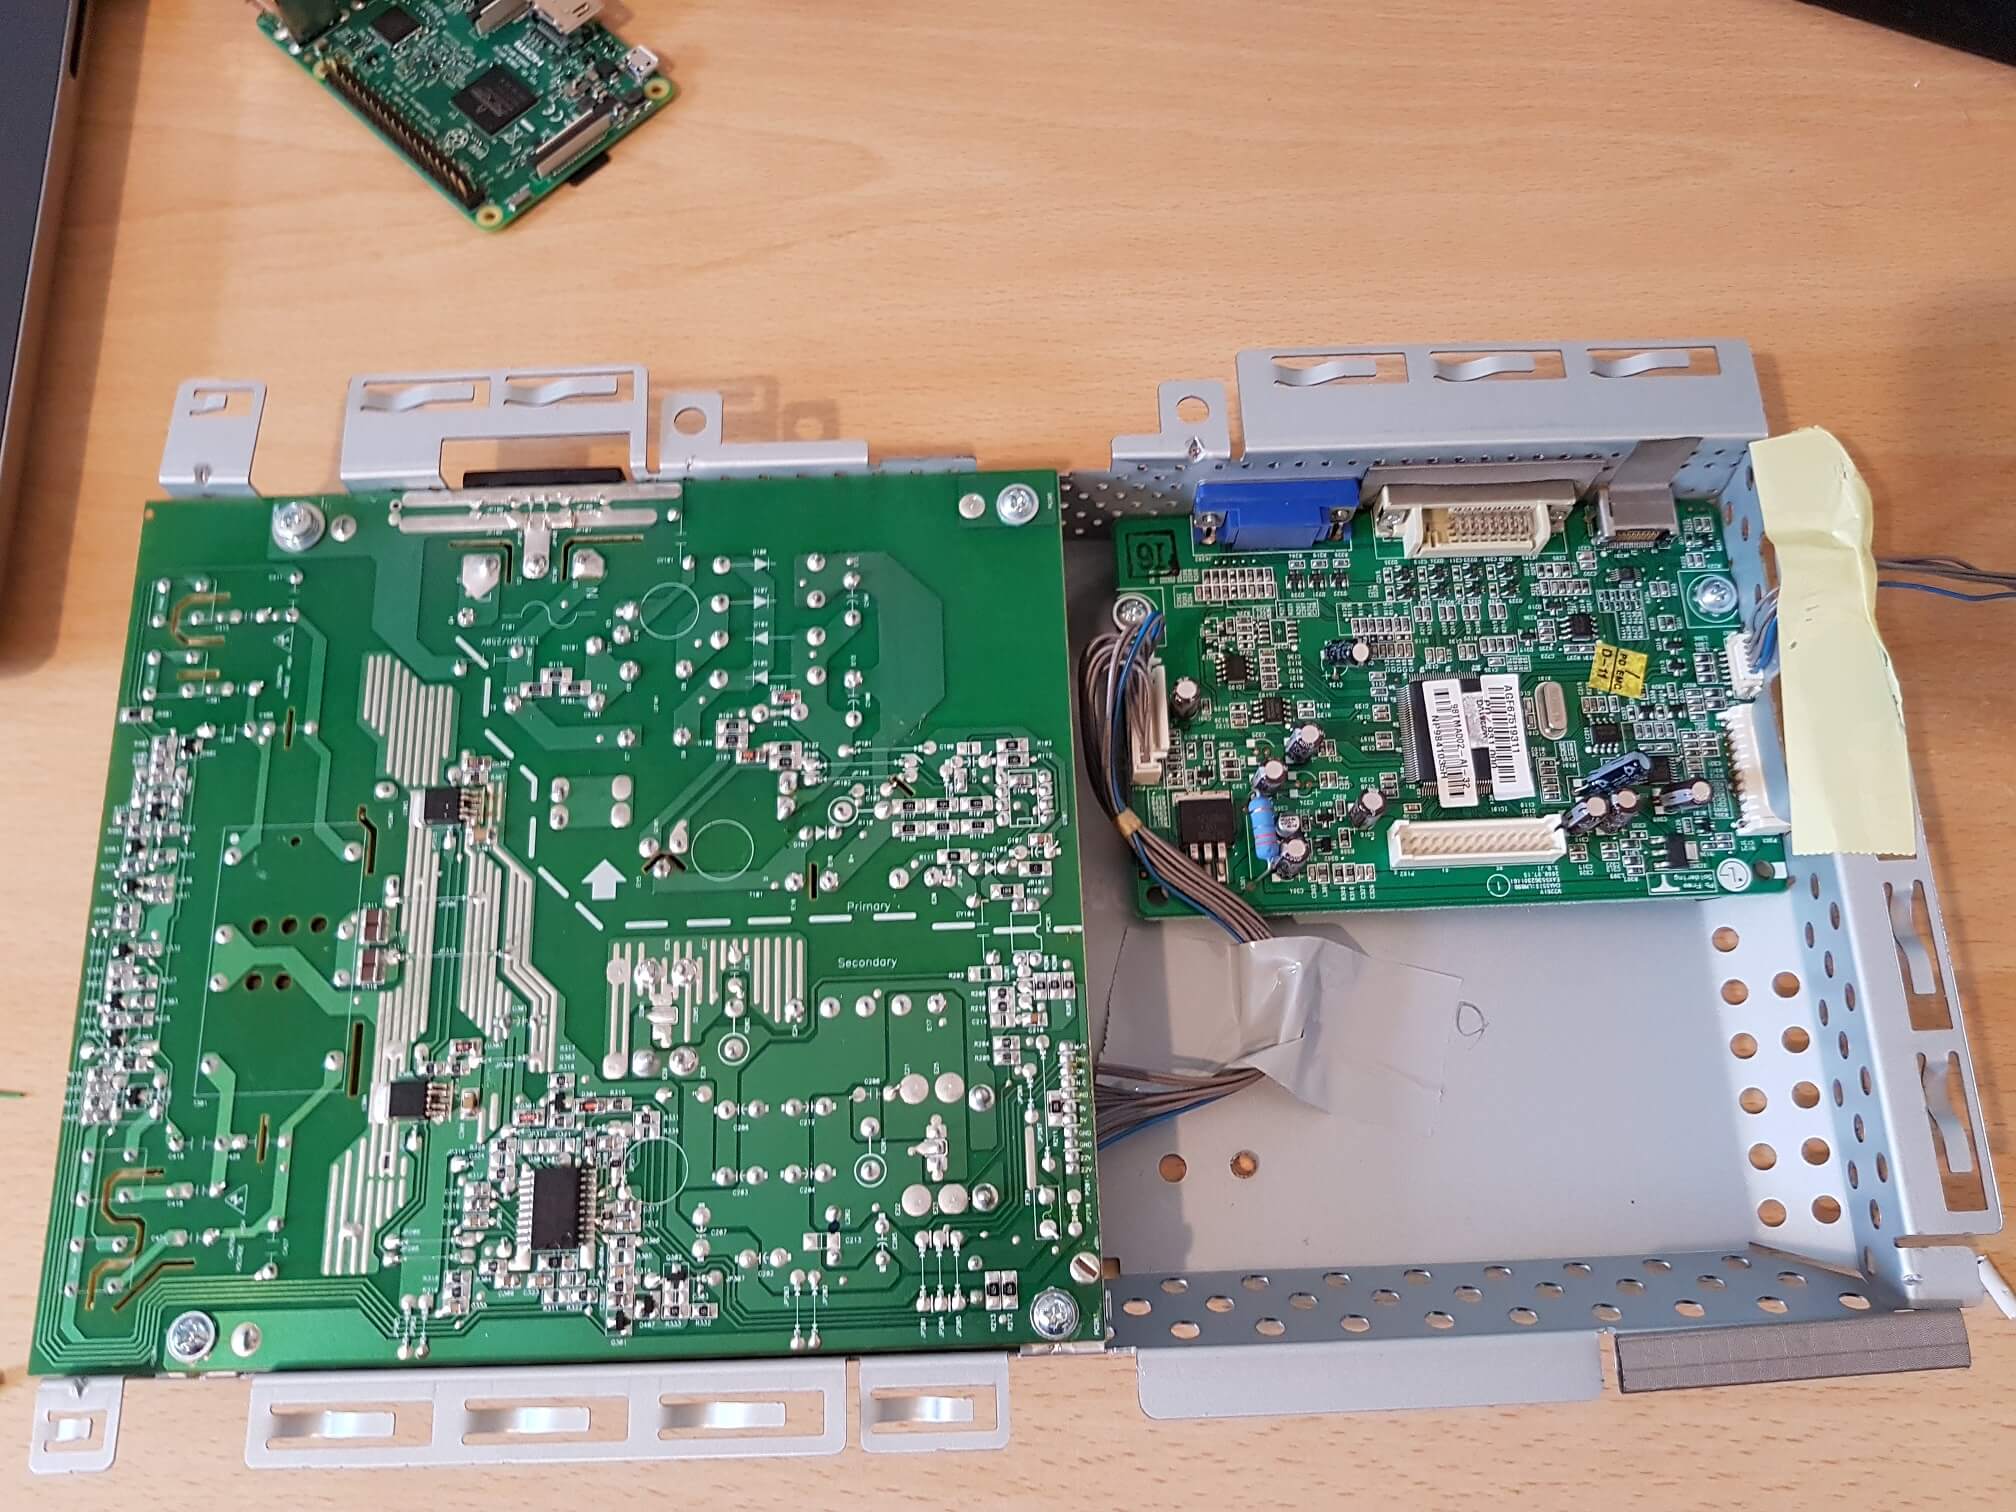
Next I ripped apart the display to extract it from the ugly plastic casing to see what I had to work with to make the frame.
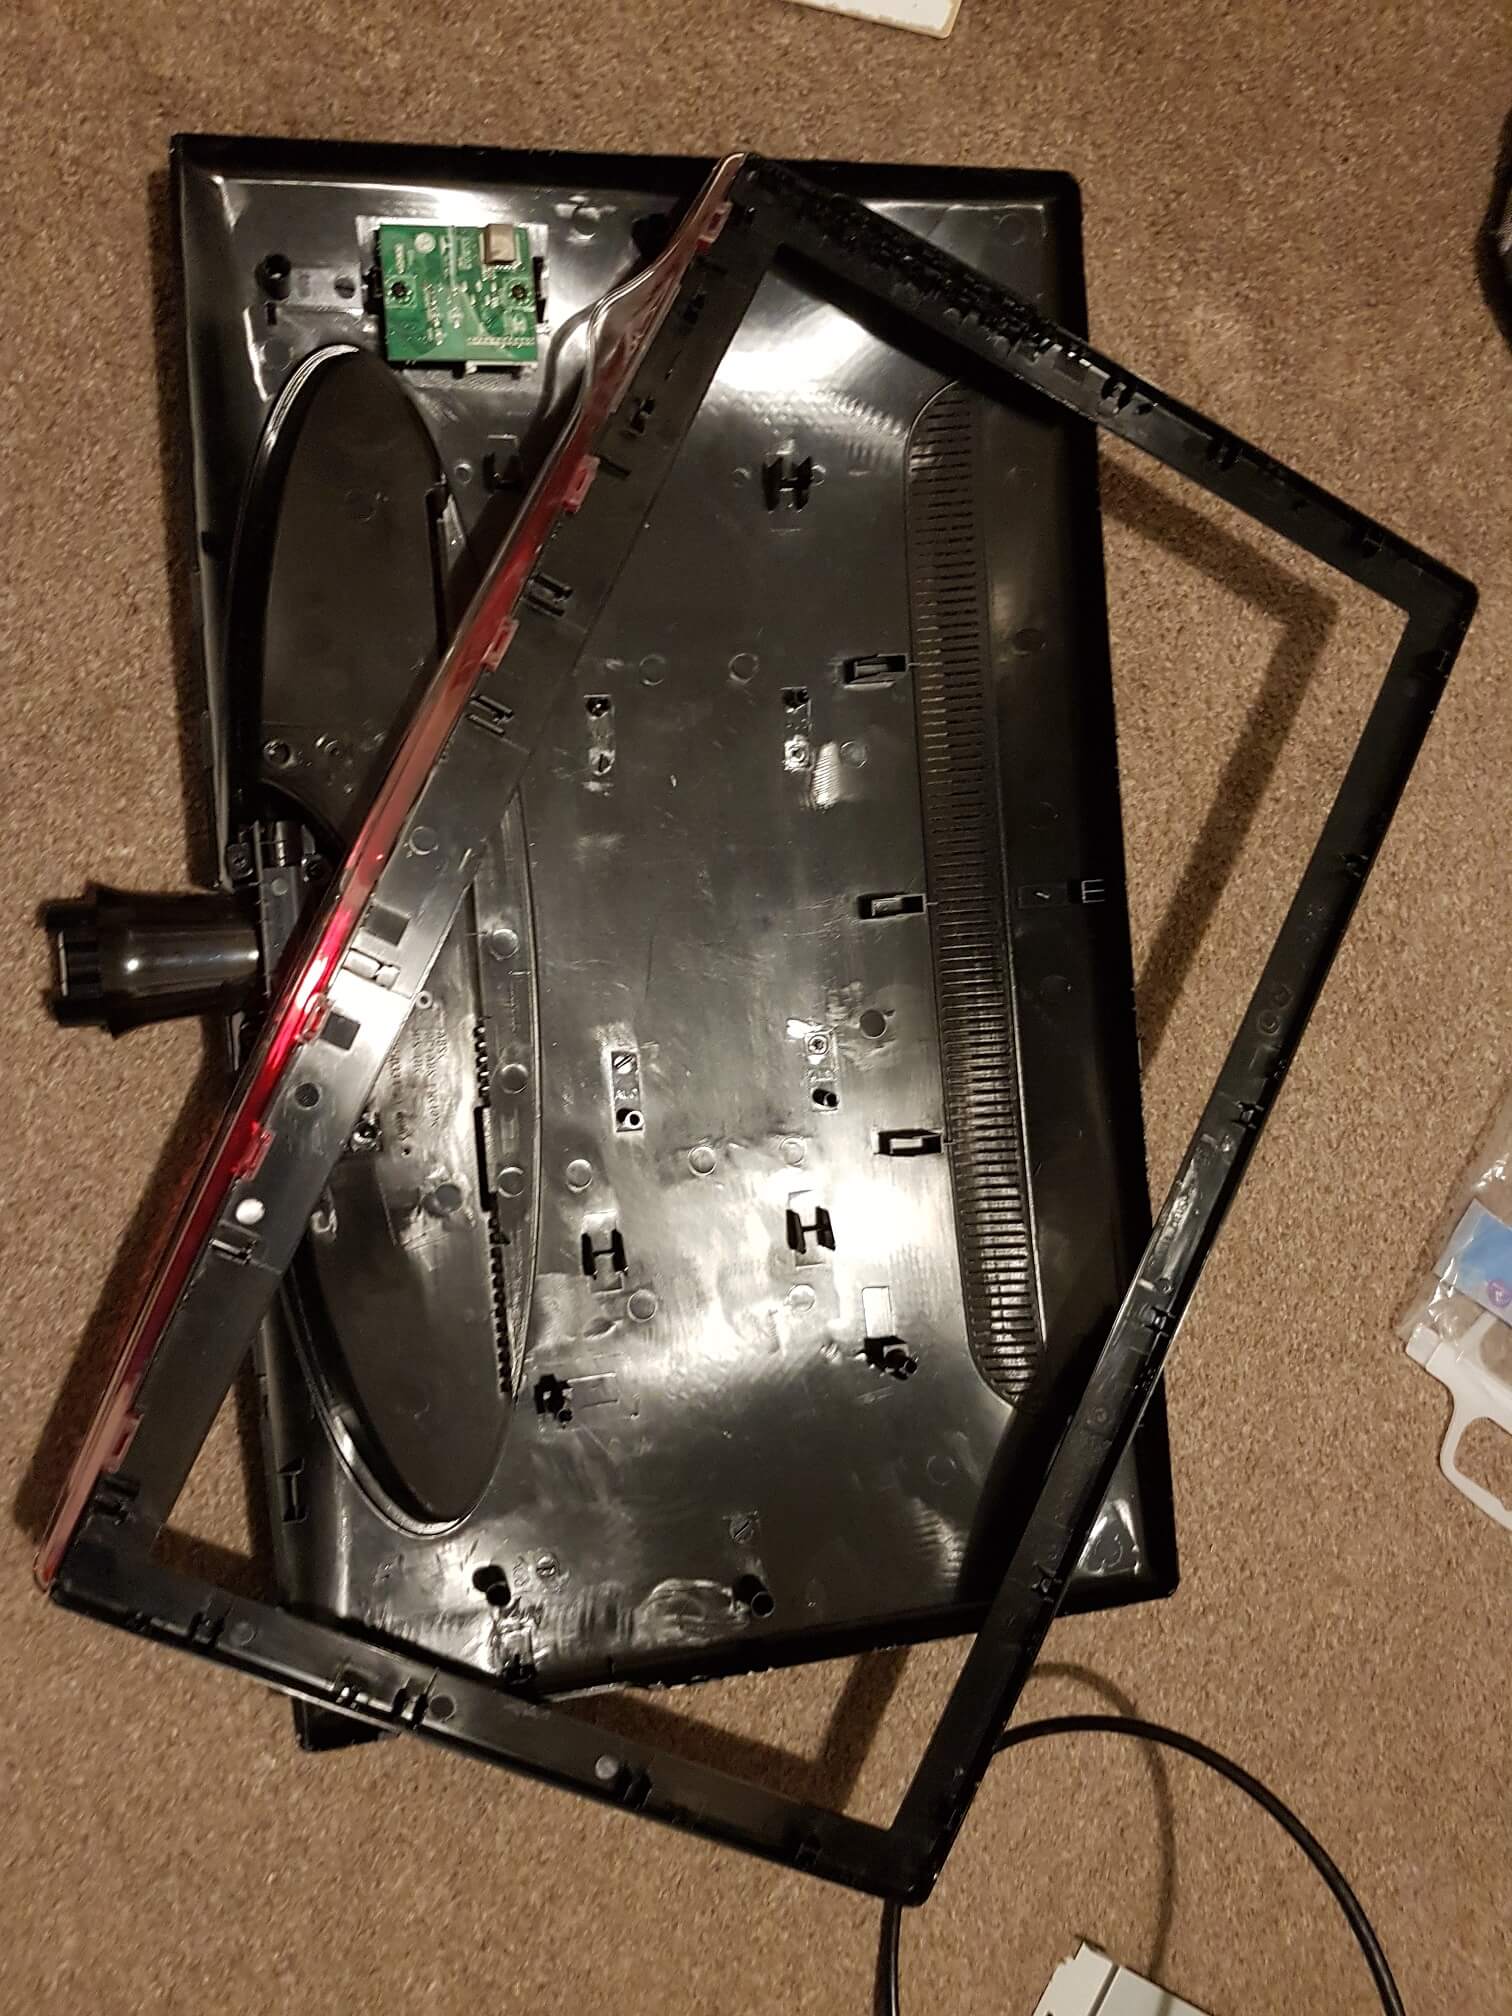
One of the problems I immeidately found was that when you take into account the power supply and control board, this was already quite thick at around 6cm. But….I also needed to get power to the Raspberry Pi and the display. My initial thought was to include a 4-way power strip behind the display, however that quickly increased the depth to about 10cm, which I didn’t like.
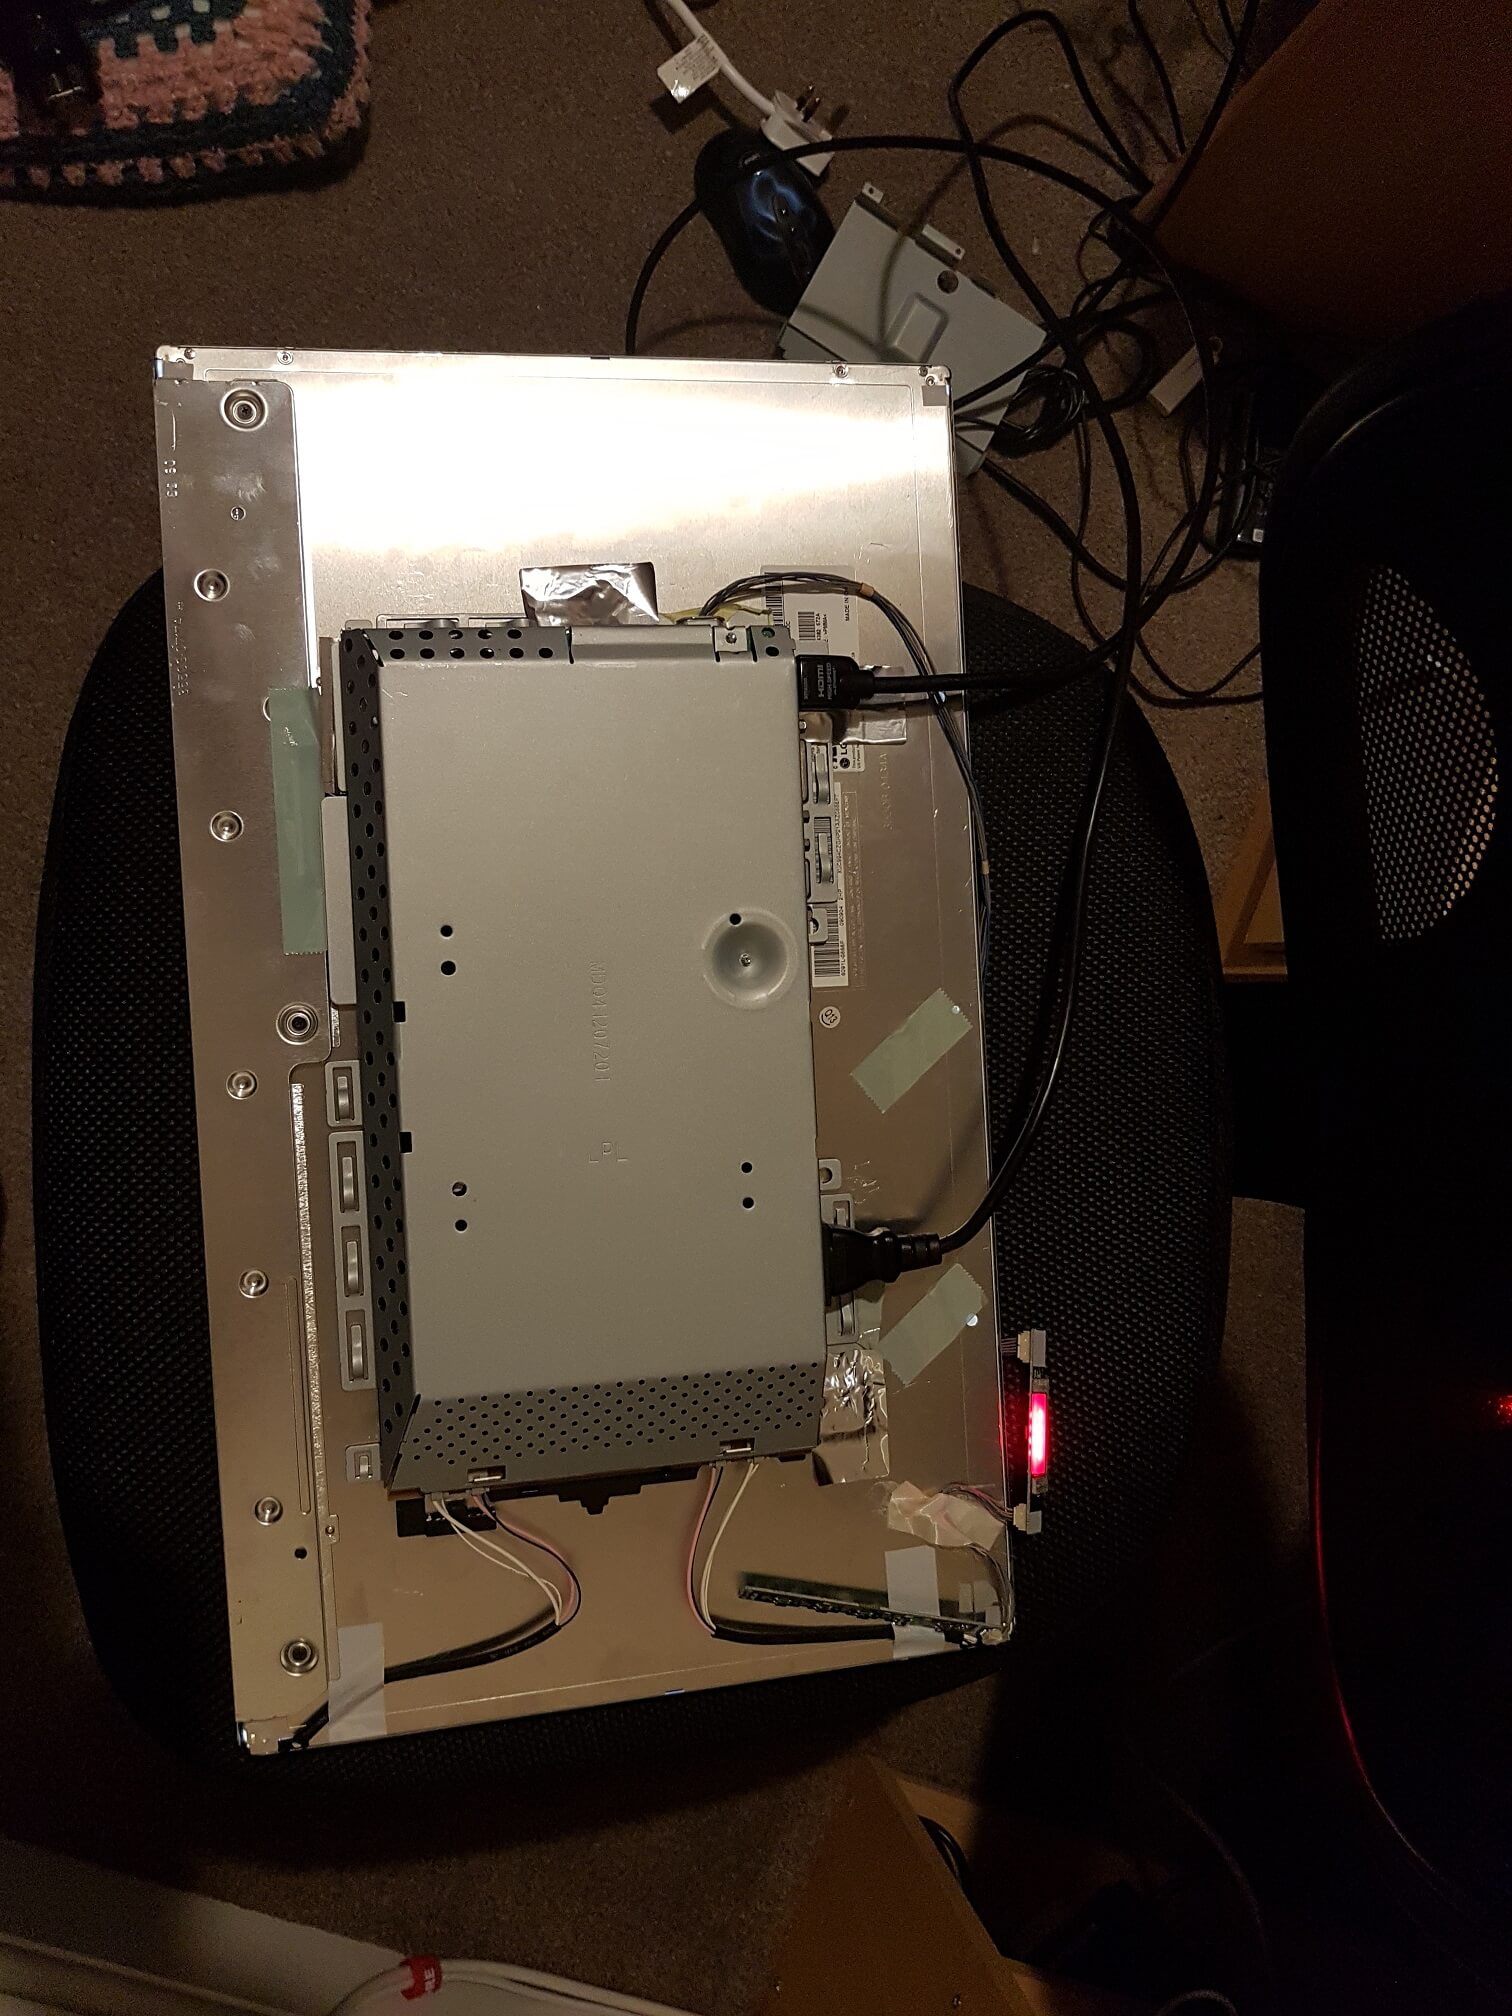
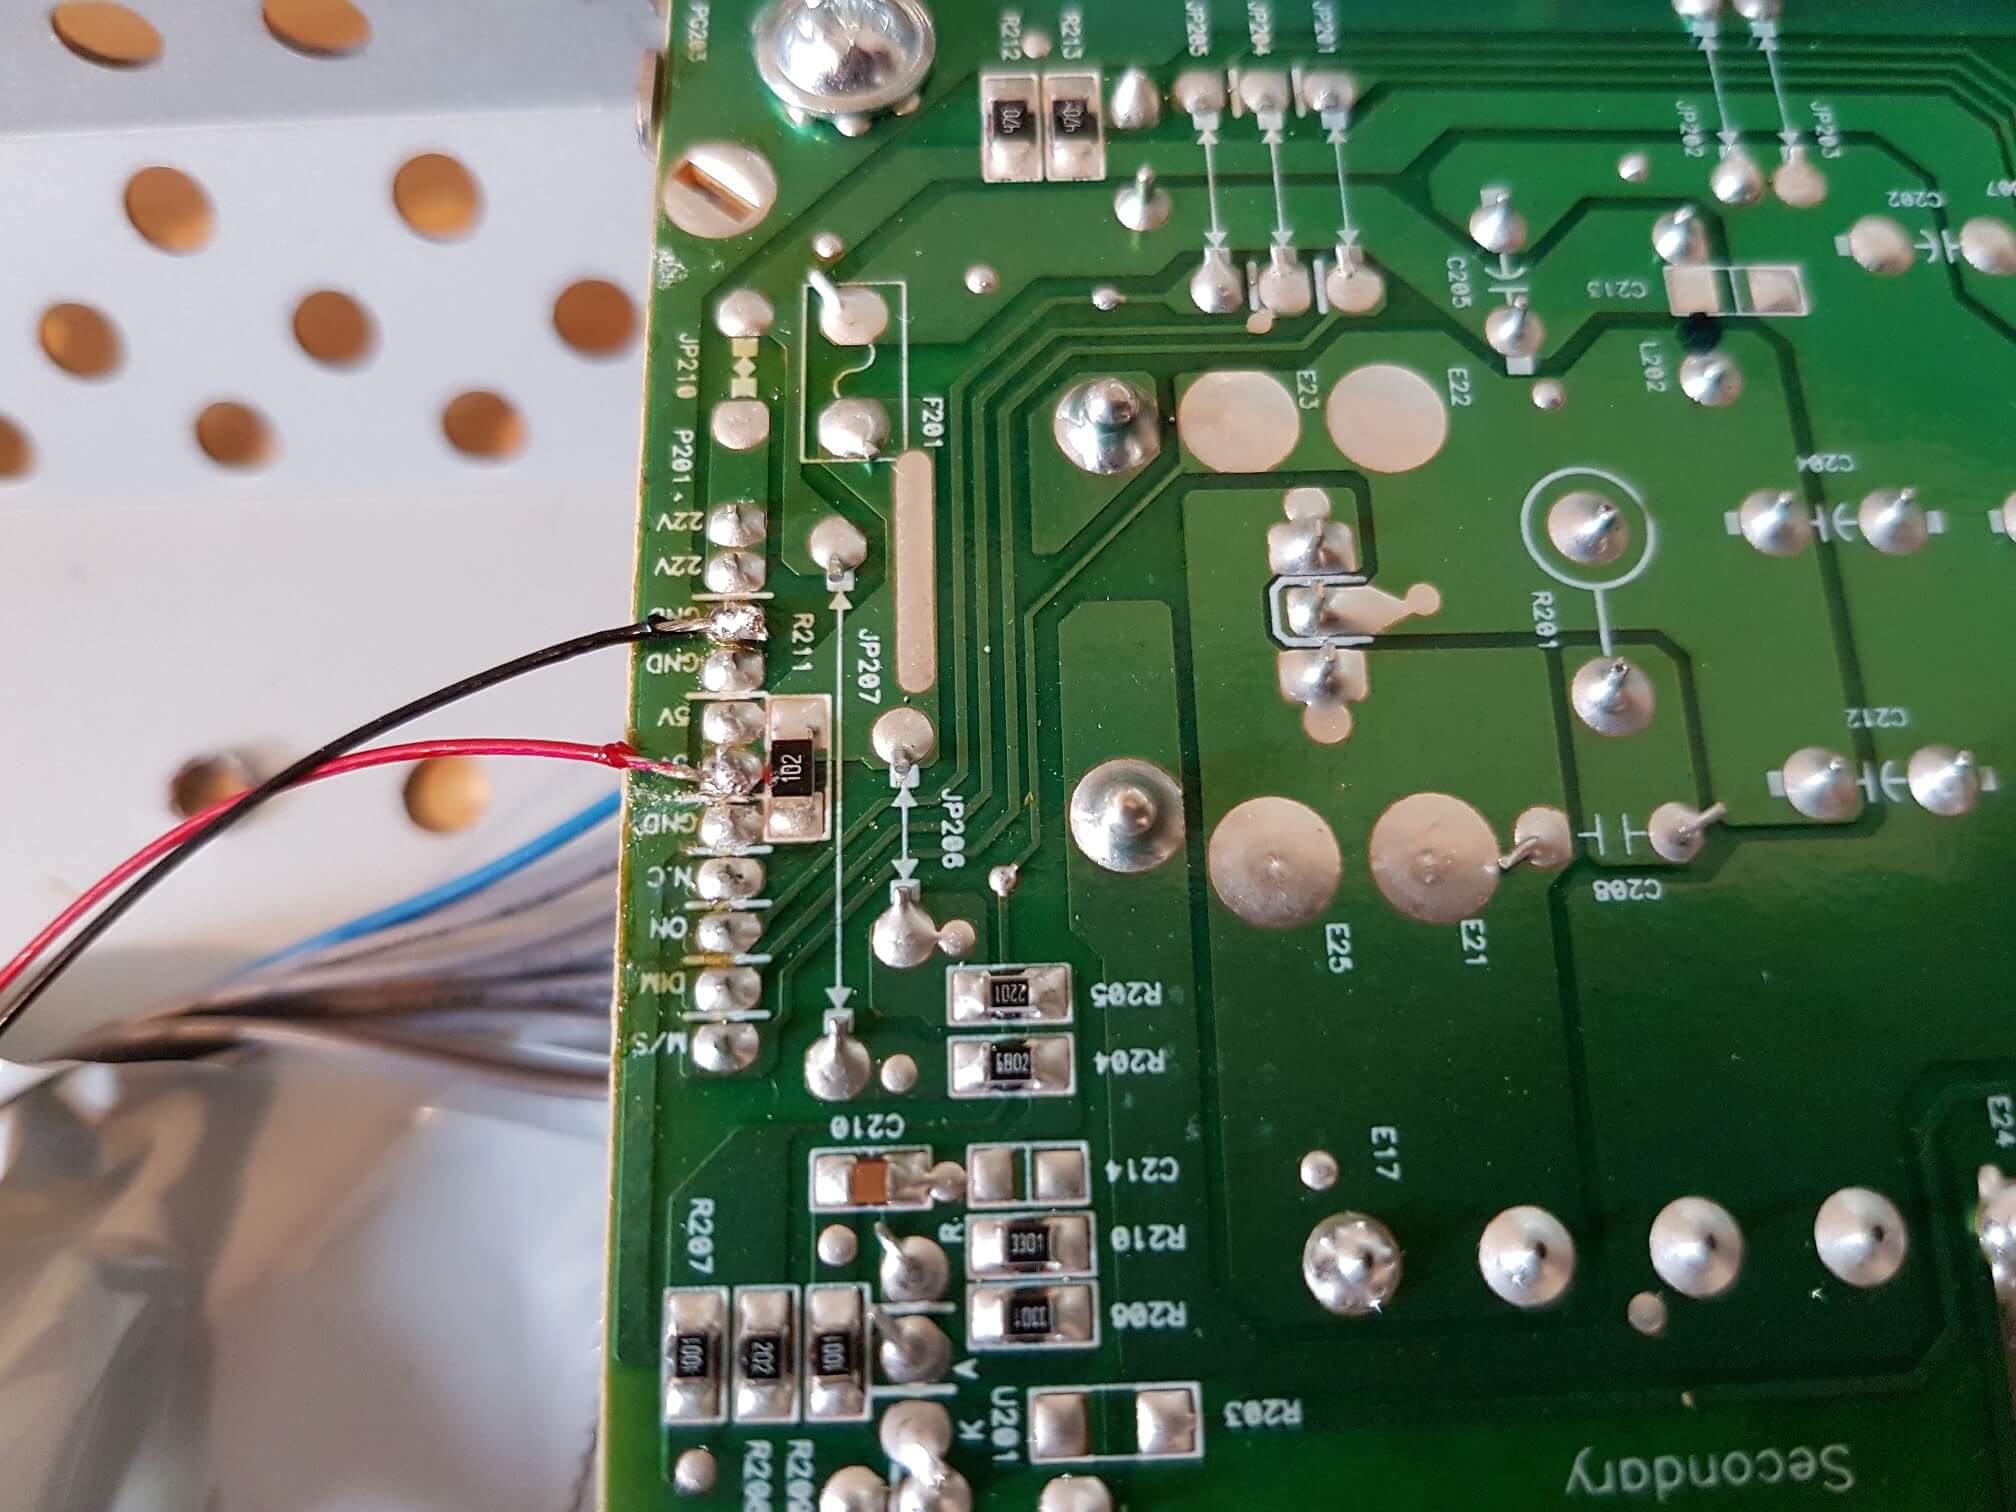
I spotted in one of the posts above that they had taken 5v from the monitor power supply board - I figured there must be a 5v rail on mine somewhere so some more dismantling was required. I was preparing myself for spending a good chunk of time trying to identify a 5v rail, but when i got the plastic casing off I was greeted with this:
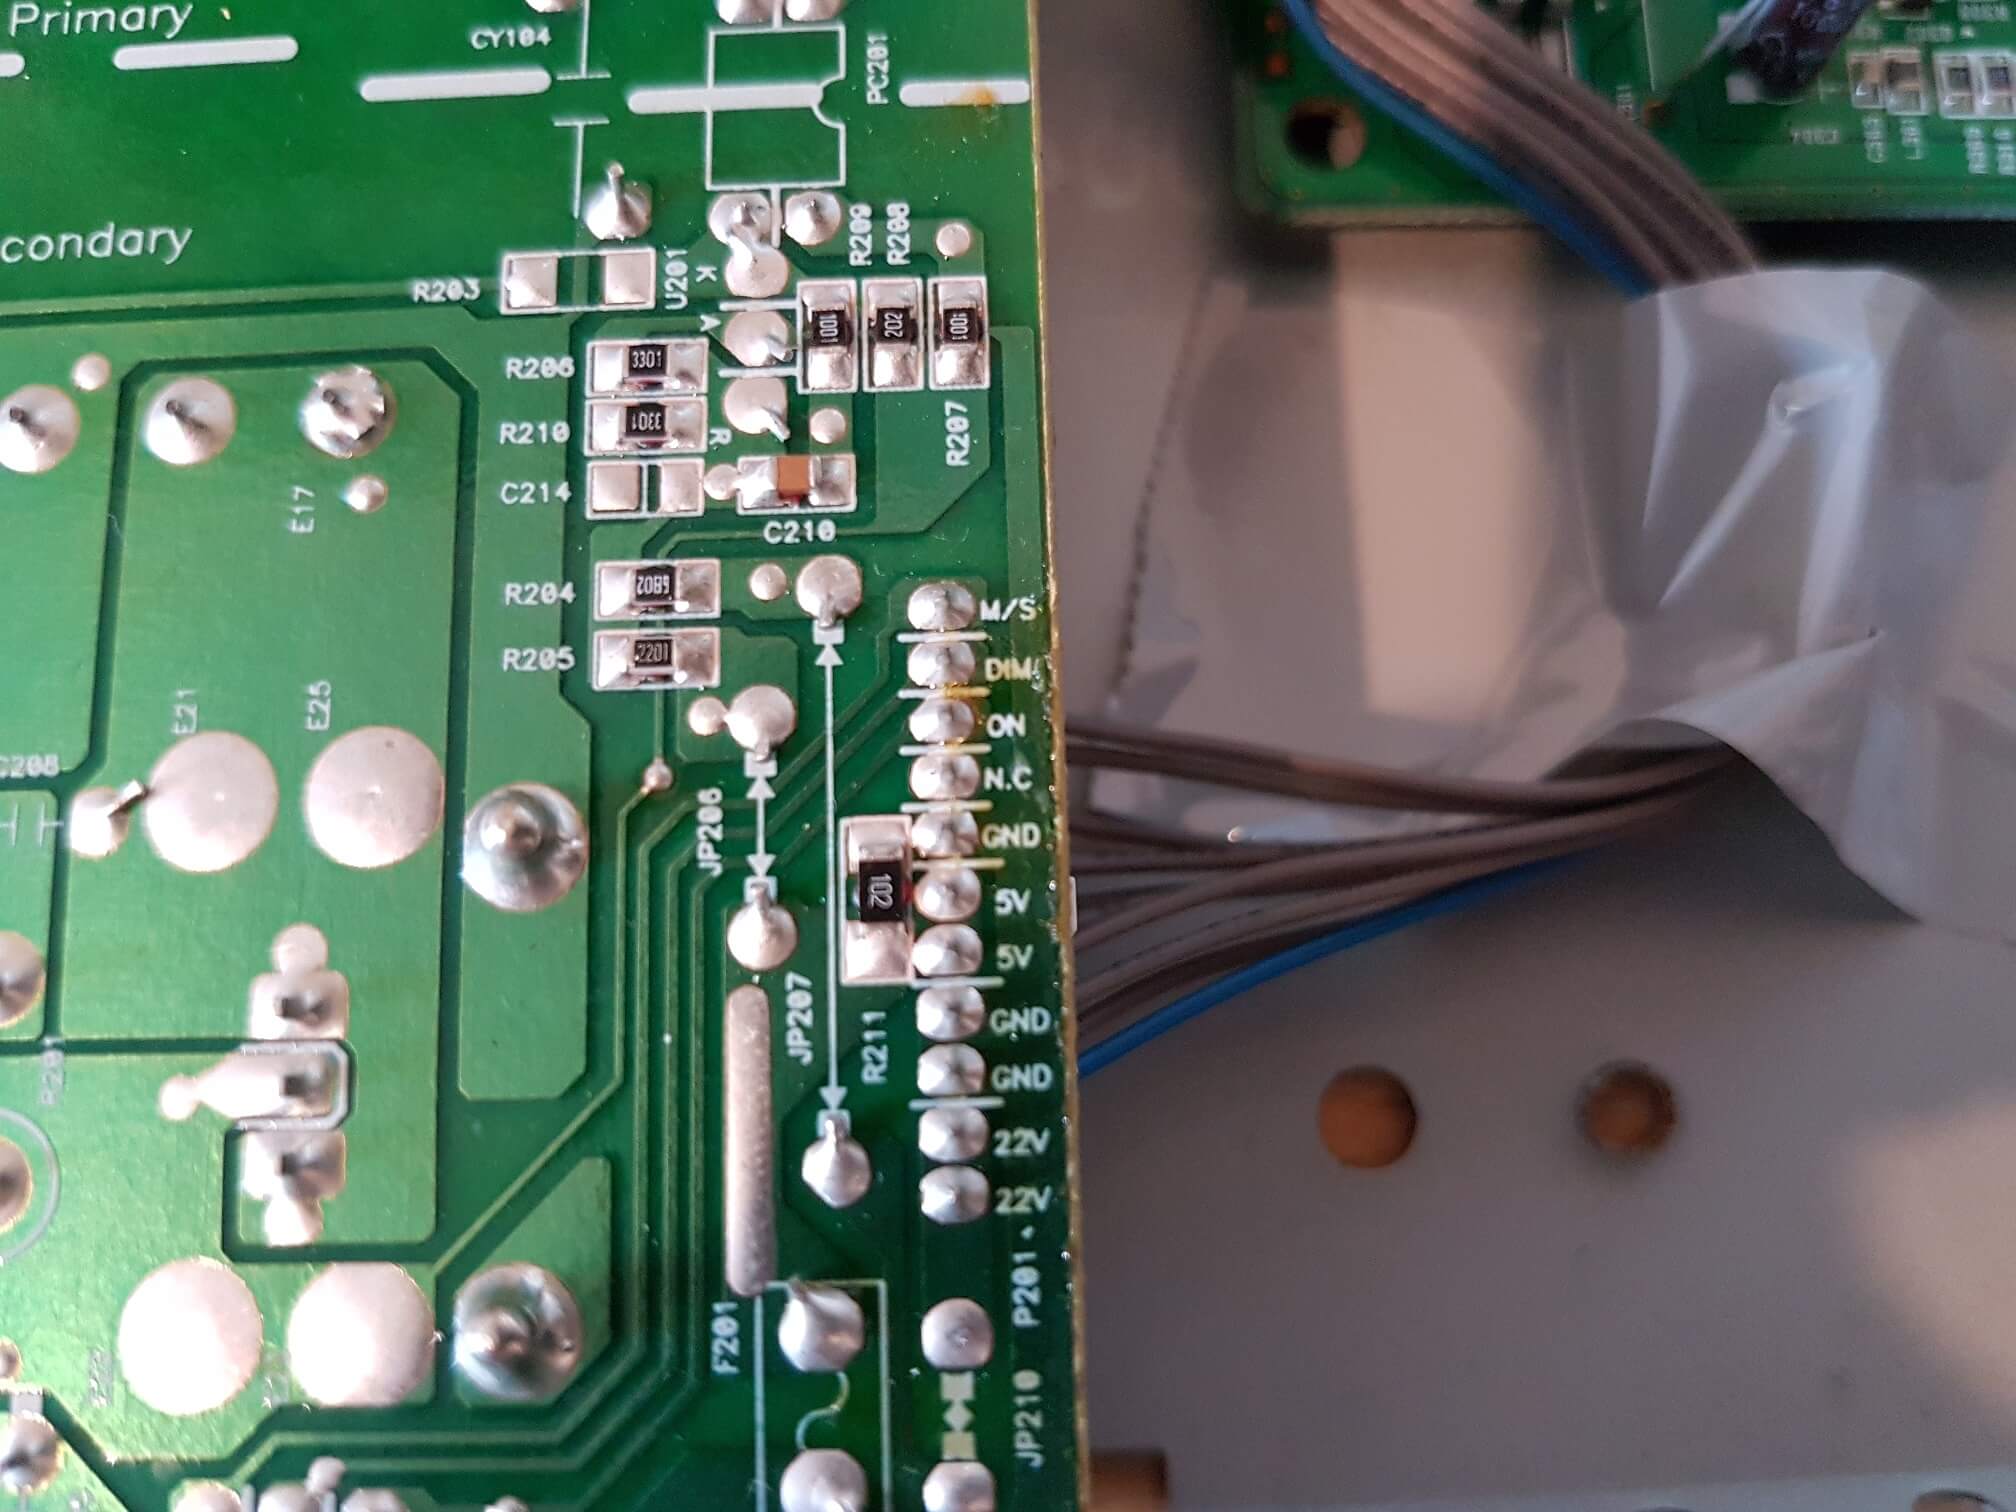
…I was very happy.
The soldering iron came out, an old micro USB cable was sacrifced, and not long after I had a Raspberry Pi powered from the monitors power supply.
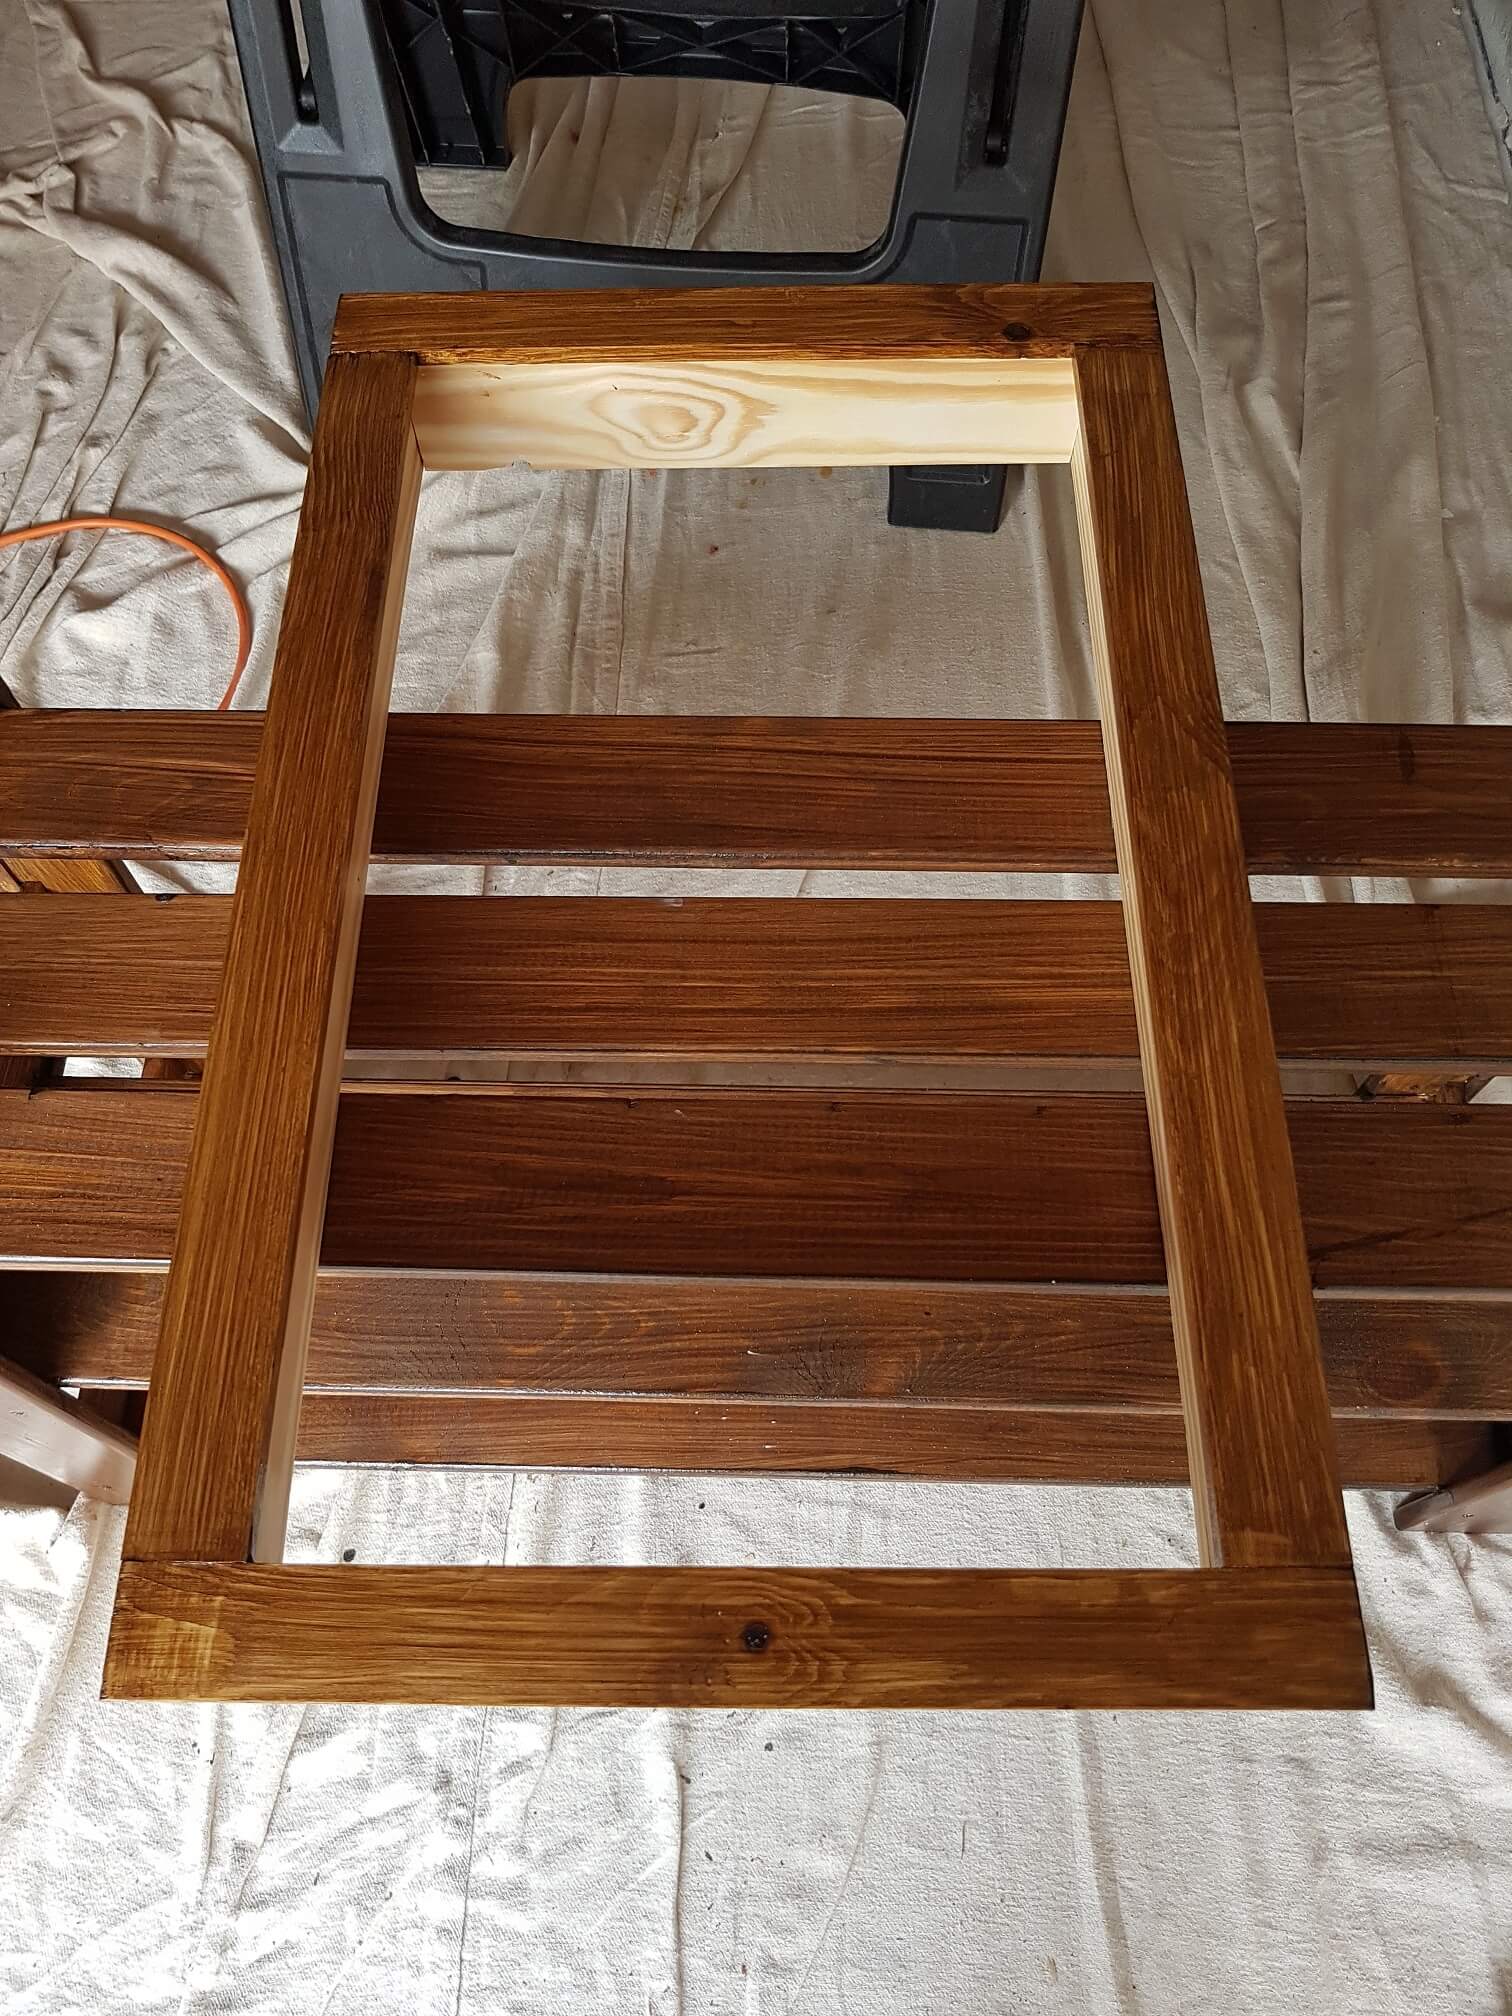
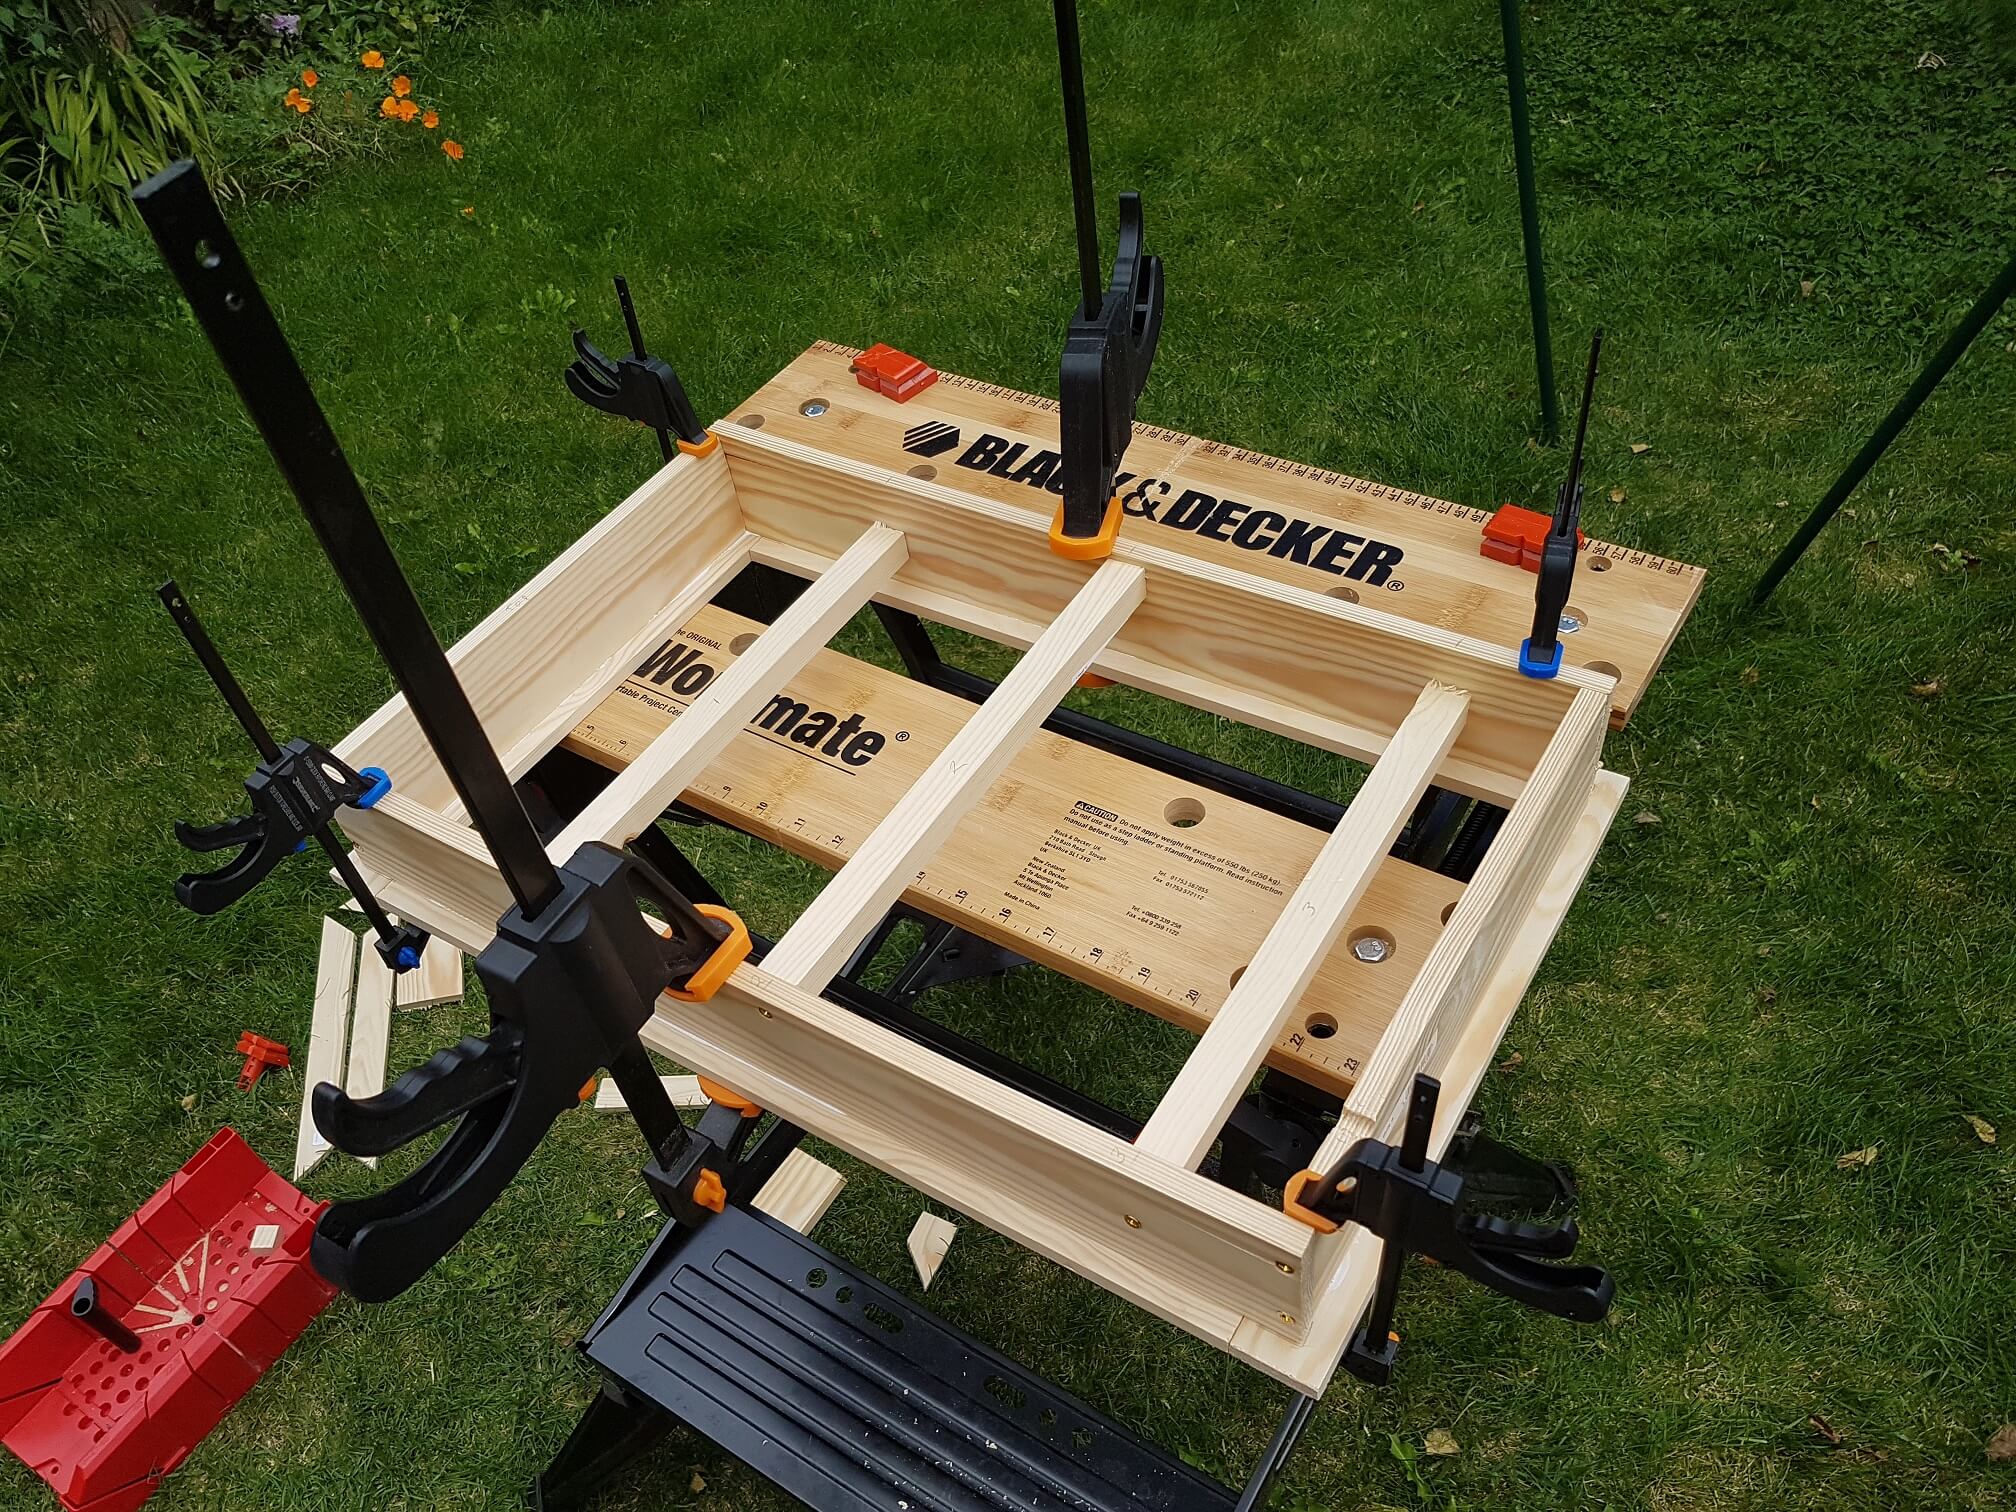
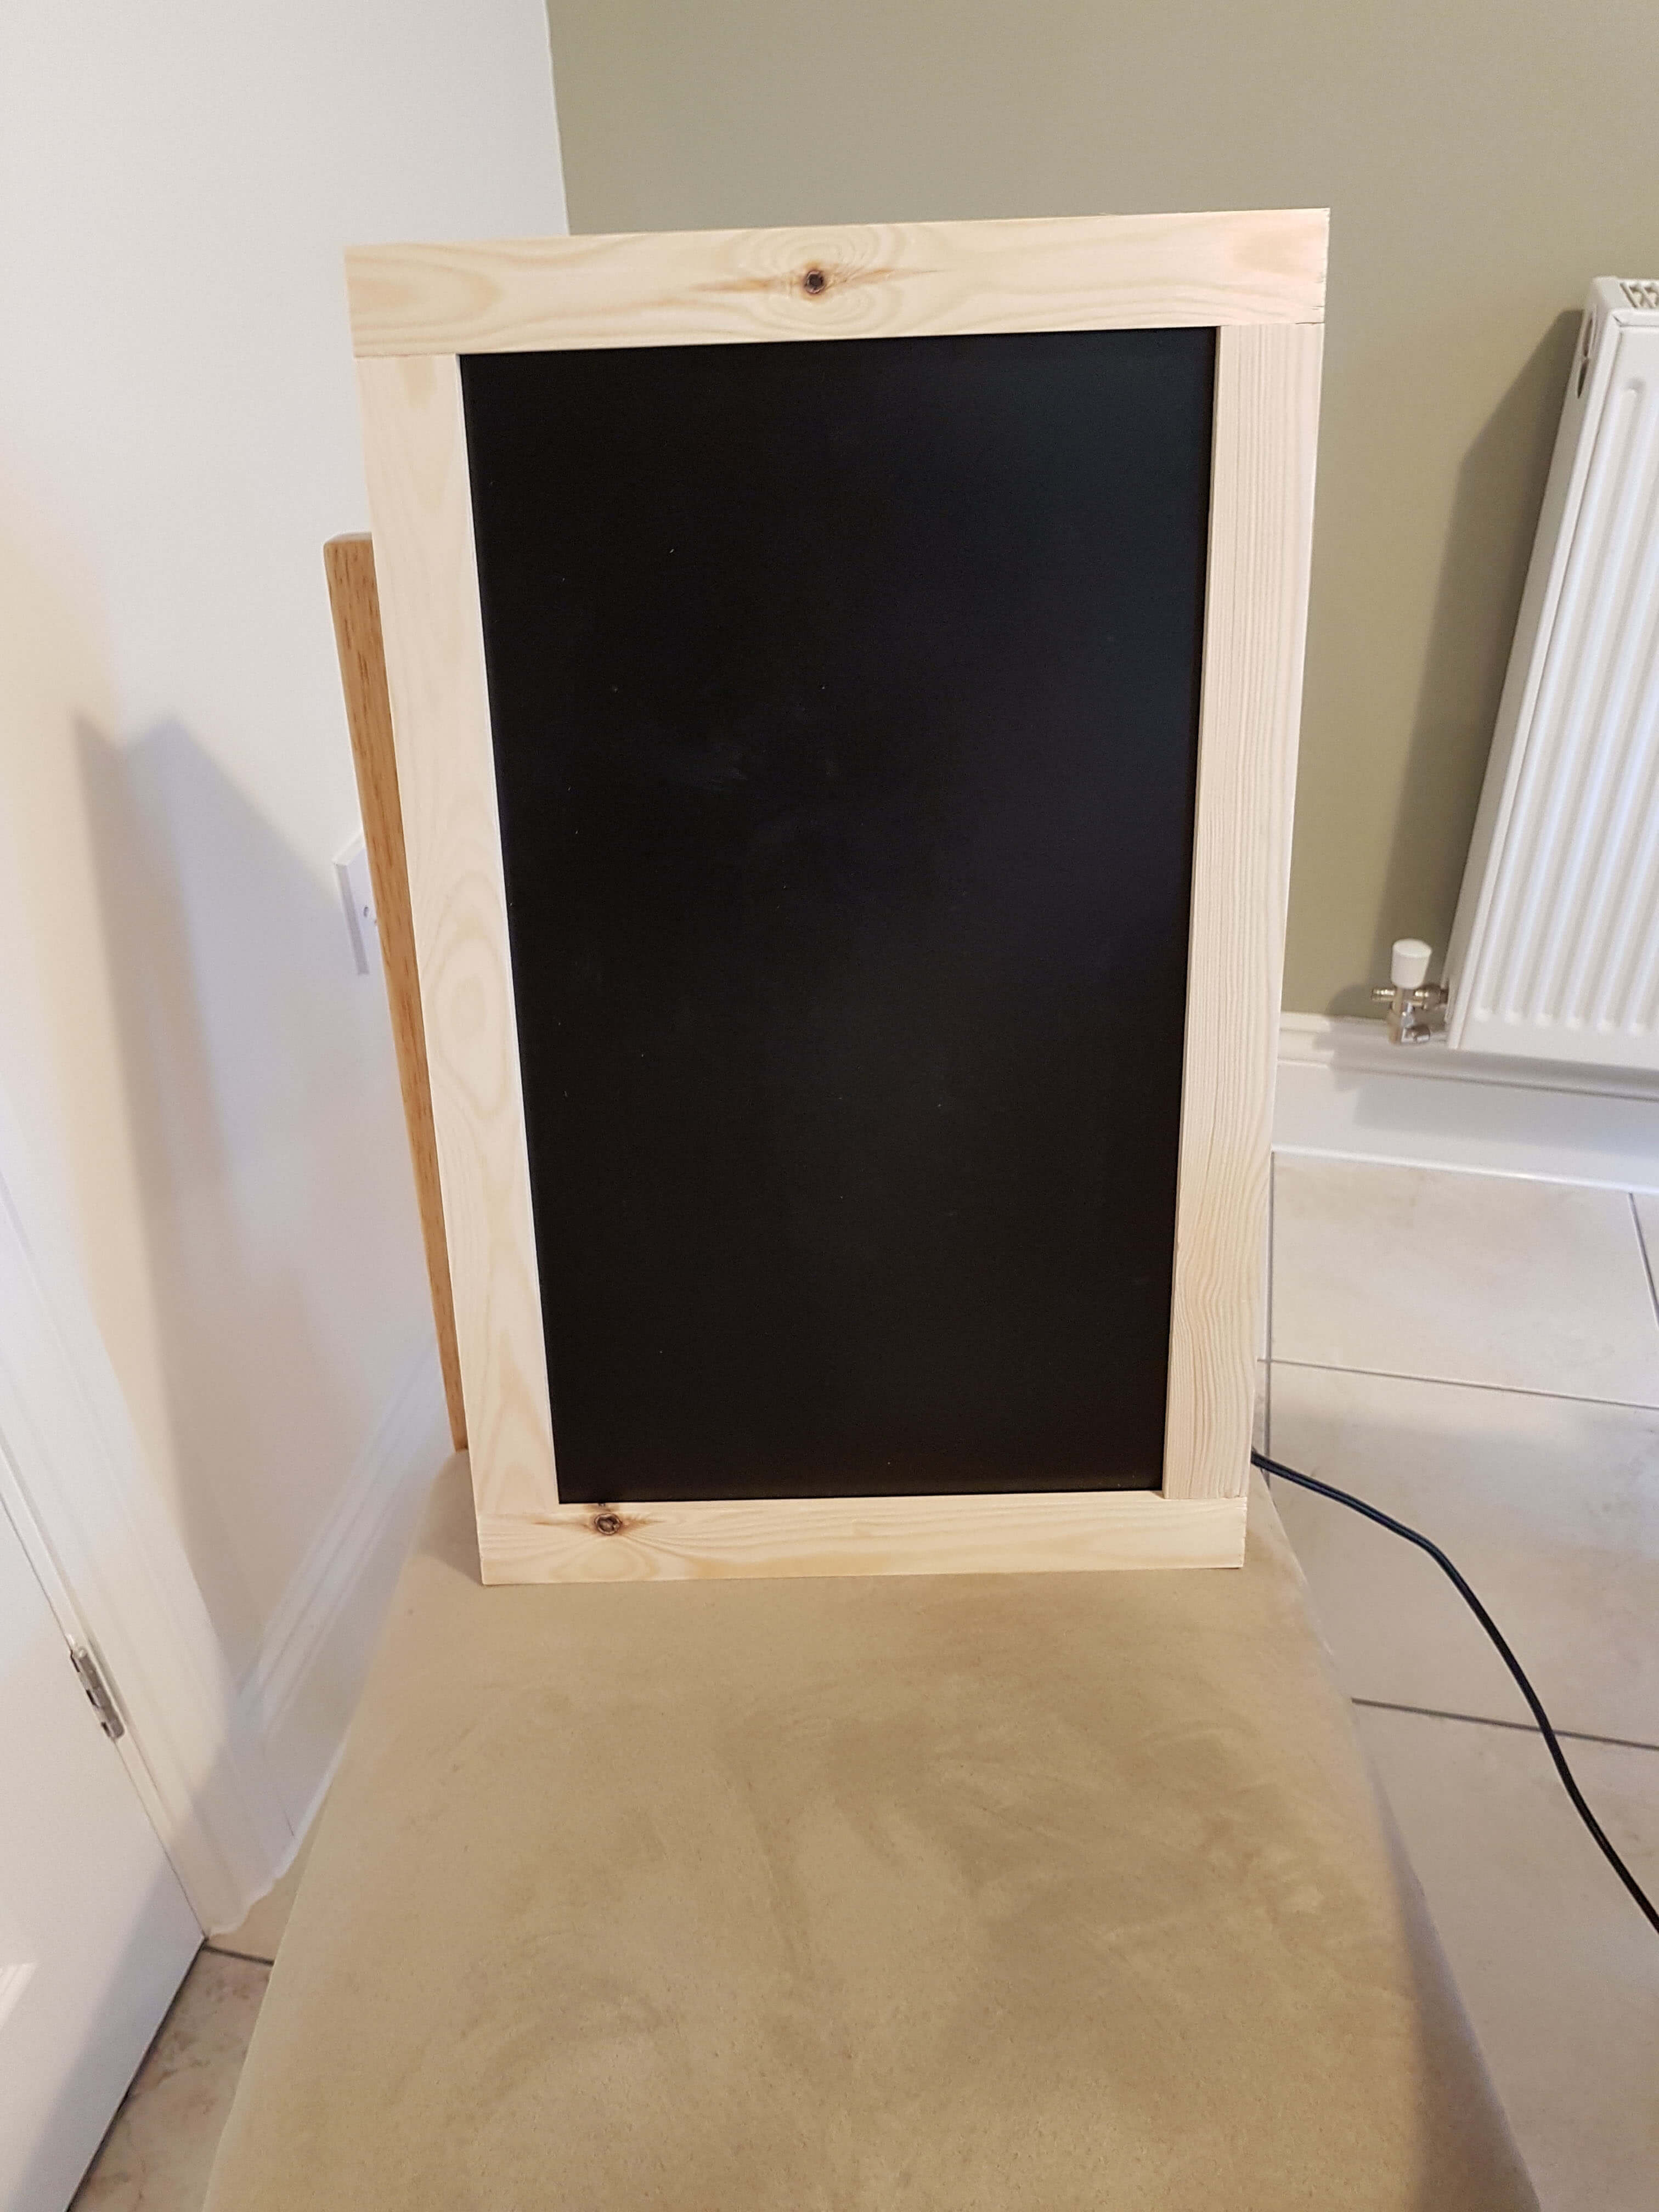
Next up, was the frame. This was probably the most complicated part of the project. After reading the two posts I had a pretty good idea how I’d do it. I had to make a few adjustments to the methods in those posts though to account for my lack of tools. Specicially no access to a router or table saw, meant I wouldn’t be cutting any grooves and sliding the display in. Mine would also be thicker than in those examples on account of the power supply and control board on the back of the monitor. I chose to keep the original metal casings for those for simplicity, but it did mean my screen was about 6cm deep.
I chose to make the frame in a similar way to the second post above – that is, a deep section that sat around the display, and then a front section that covered the edges up a bit. Those two would be glued together and the display would fit in from the back.
Originally I was going to have nice mitre cuts for the corners, however it turns out I also lack the nescessary tools and/or skill to make accurate 45 degree cuts, so I changed my mind and instead had the edge peices butt up against each other at 90 degrees. It doens’t look as nice, but better than having gaps I think.
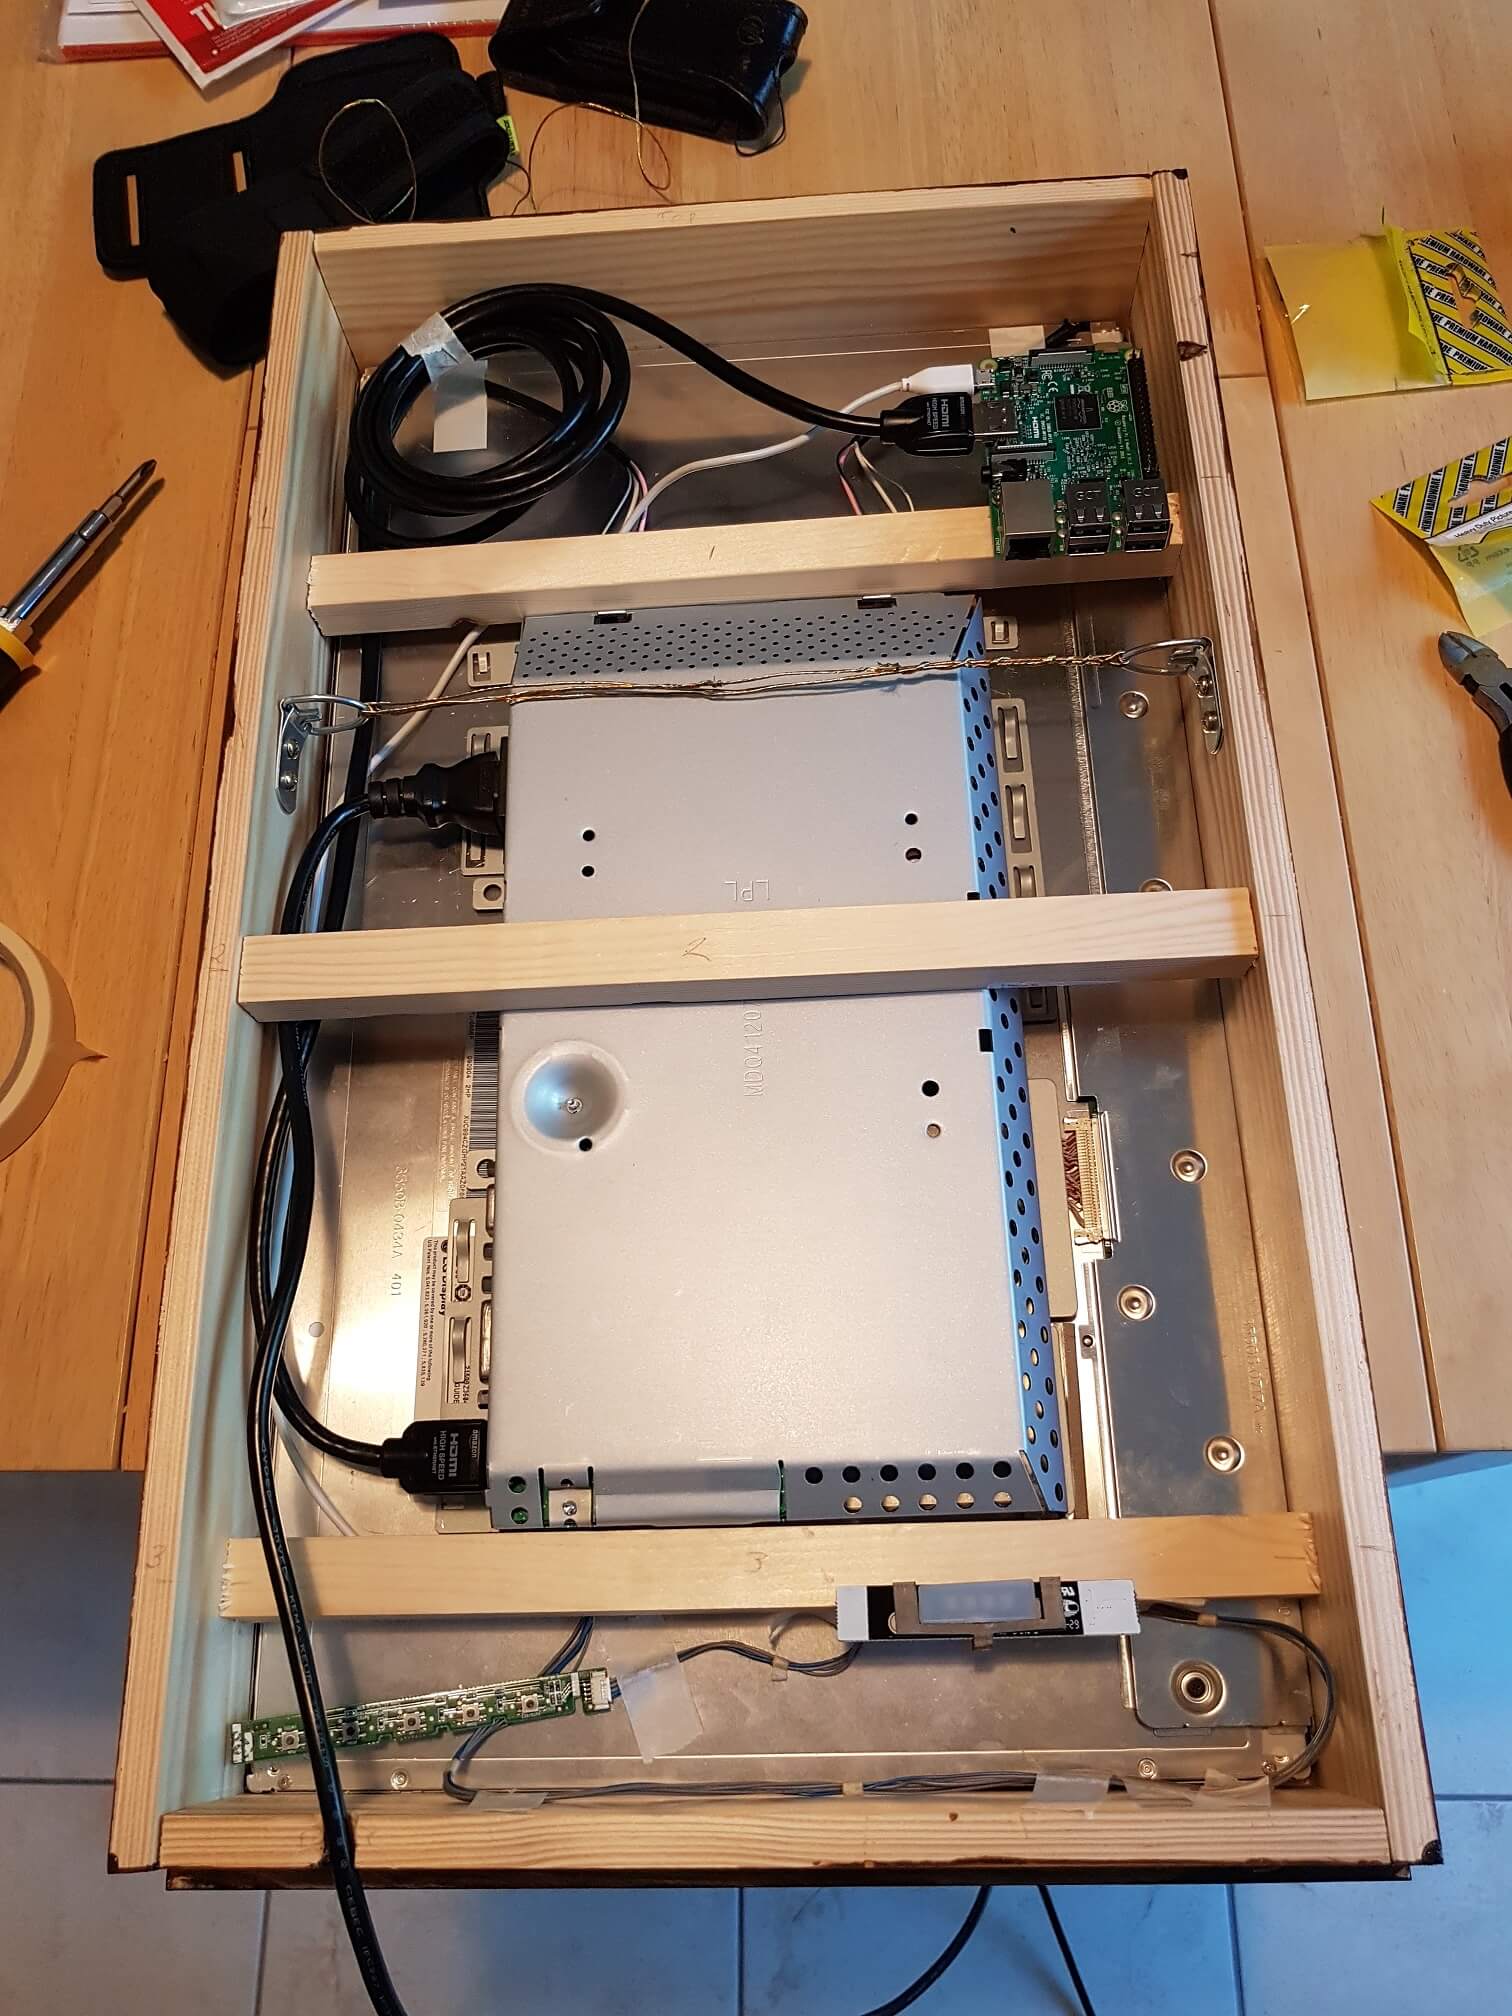
On the back section, I added a few cross peices to hold the power supply in place. The back section and the cross peices were screwed together, and the front piece was glued on. The cross peices would come out later in order to install the display.
Several hours later the glue had dried enough to assemble it all and see what it looked like.
On one of the cross braces I screwed a couple of stand-offs in, and then mounted the Raspberry Pi on those. It just fitted…more by luck than judgement I think.
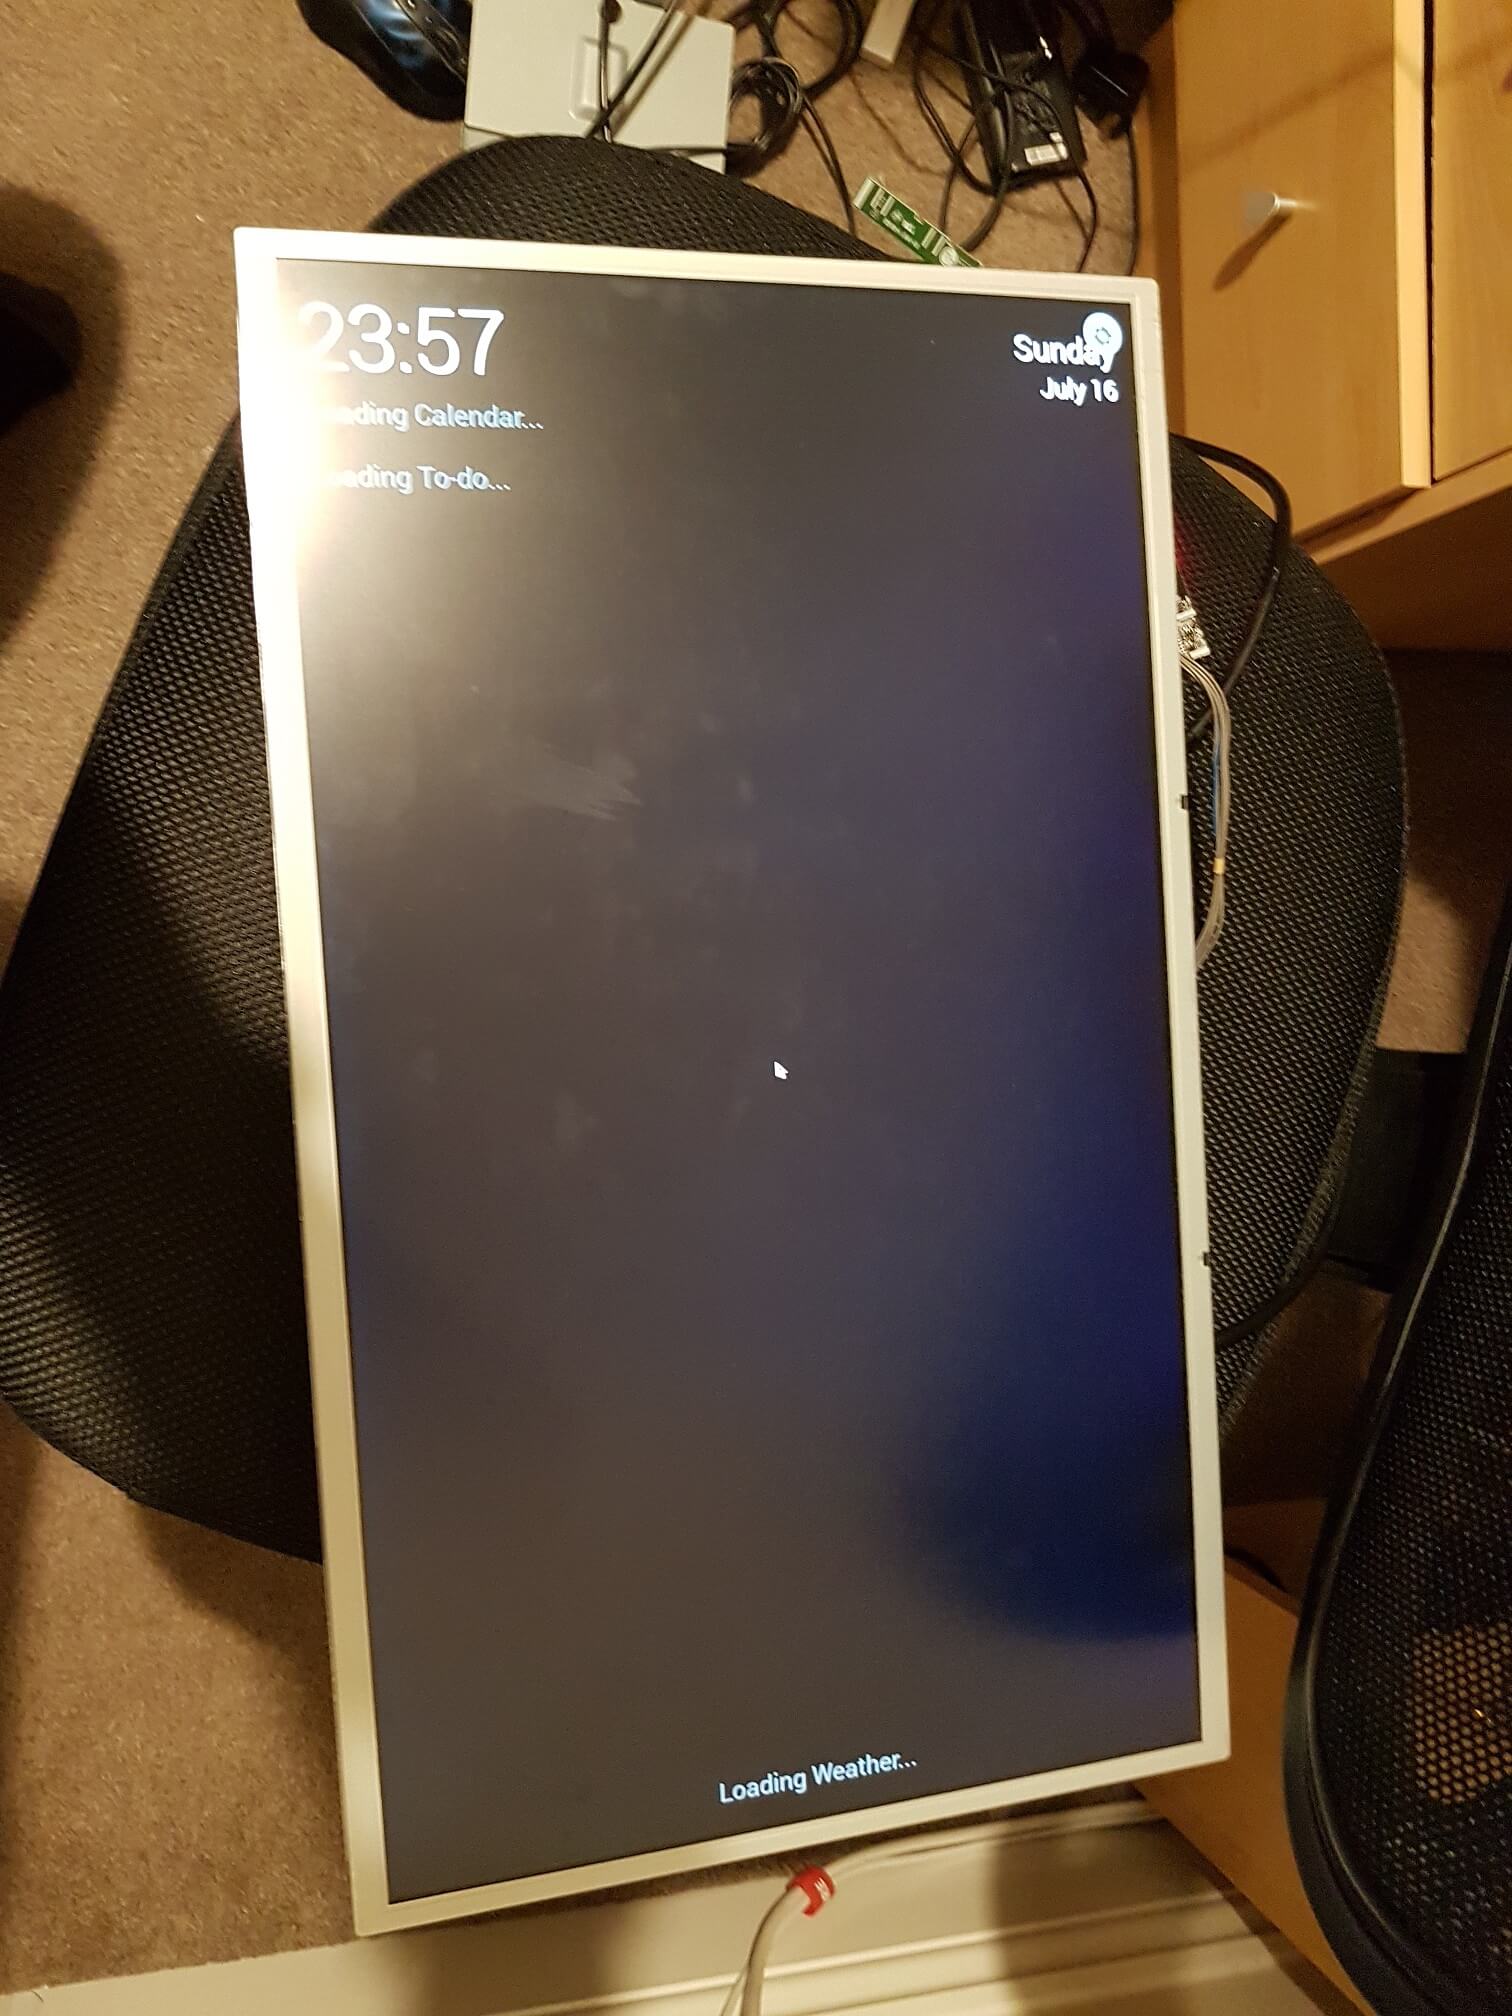
Now, the moment of truth. Would it work. I powered it up and waited patiently for it to boot.
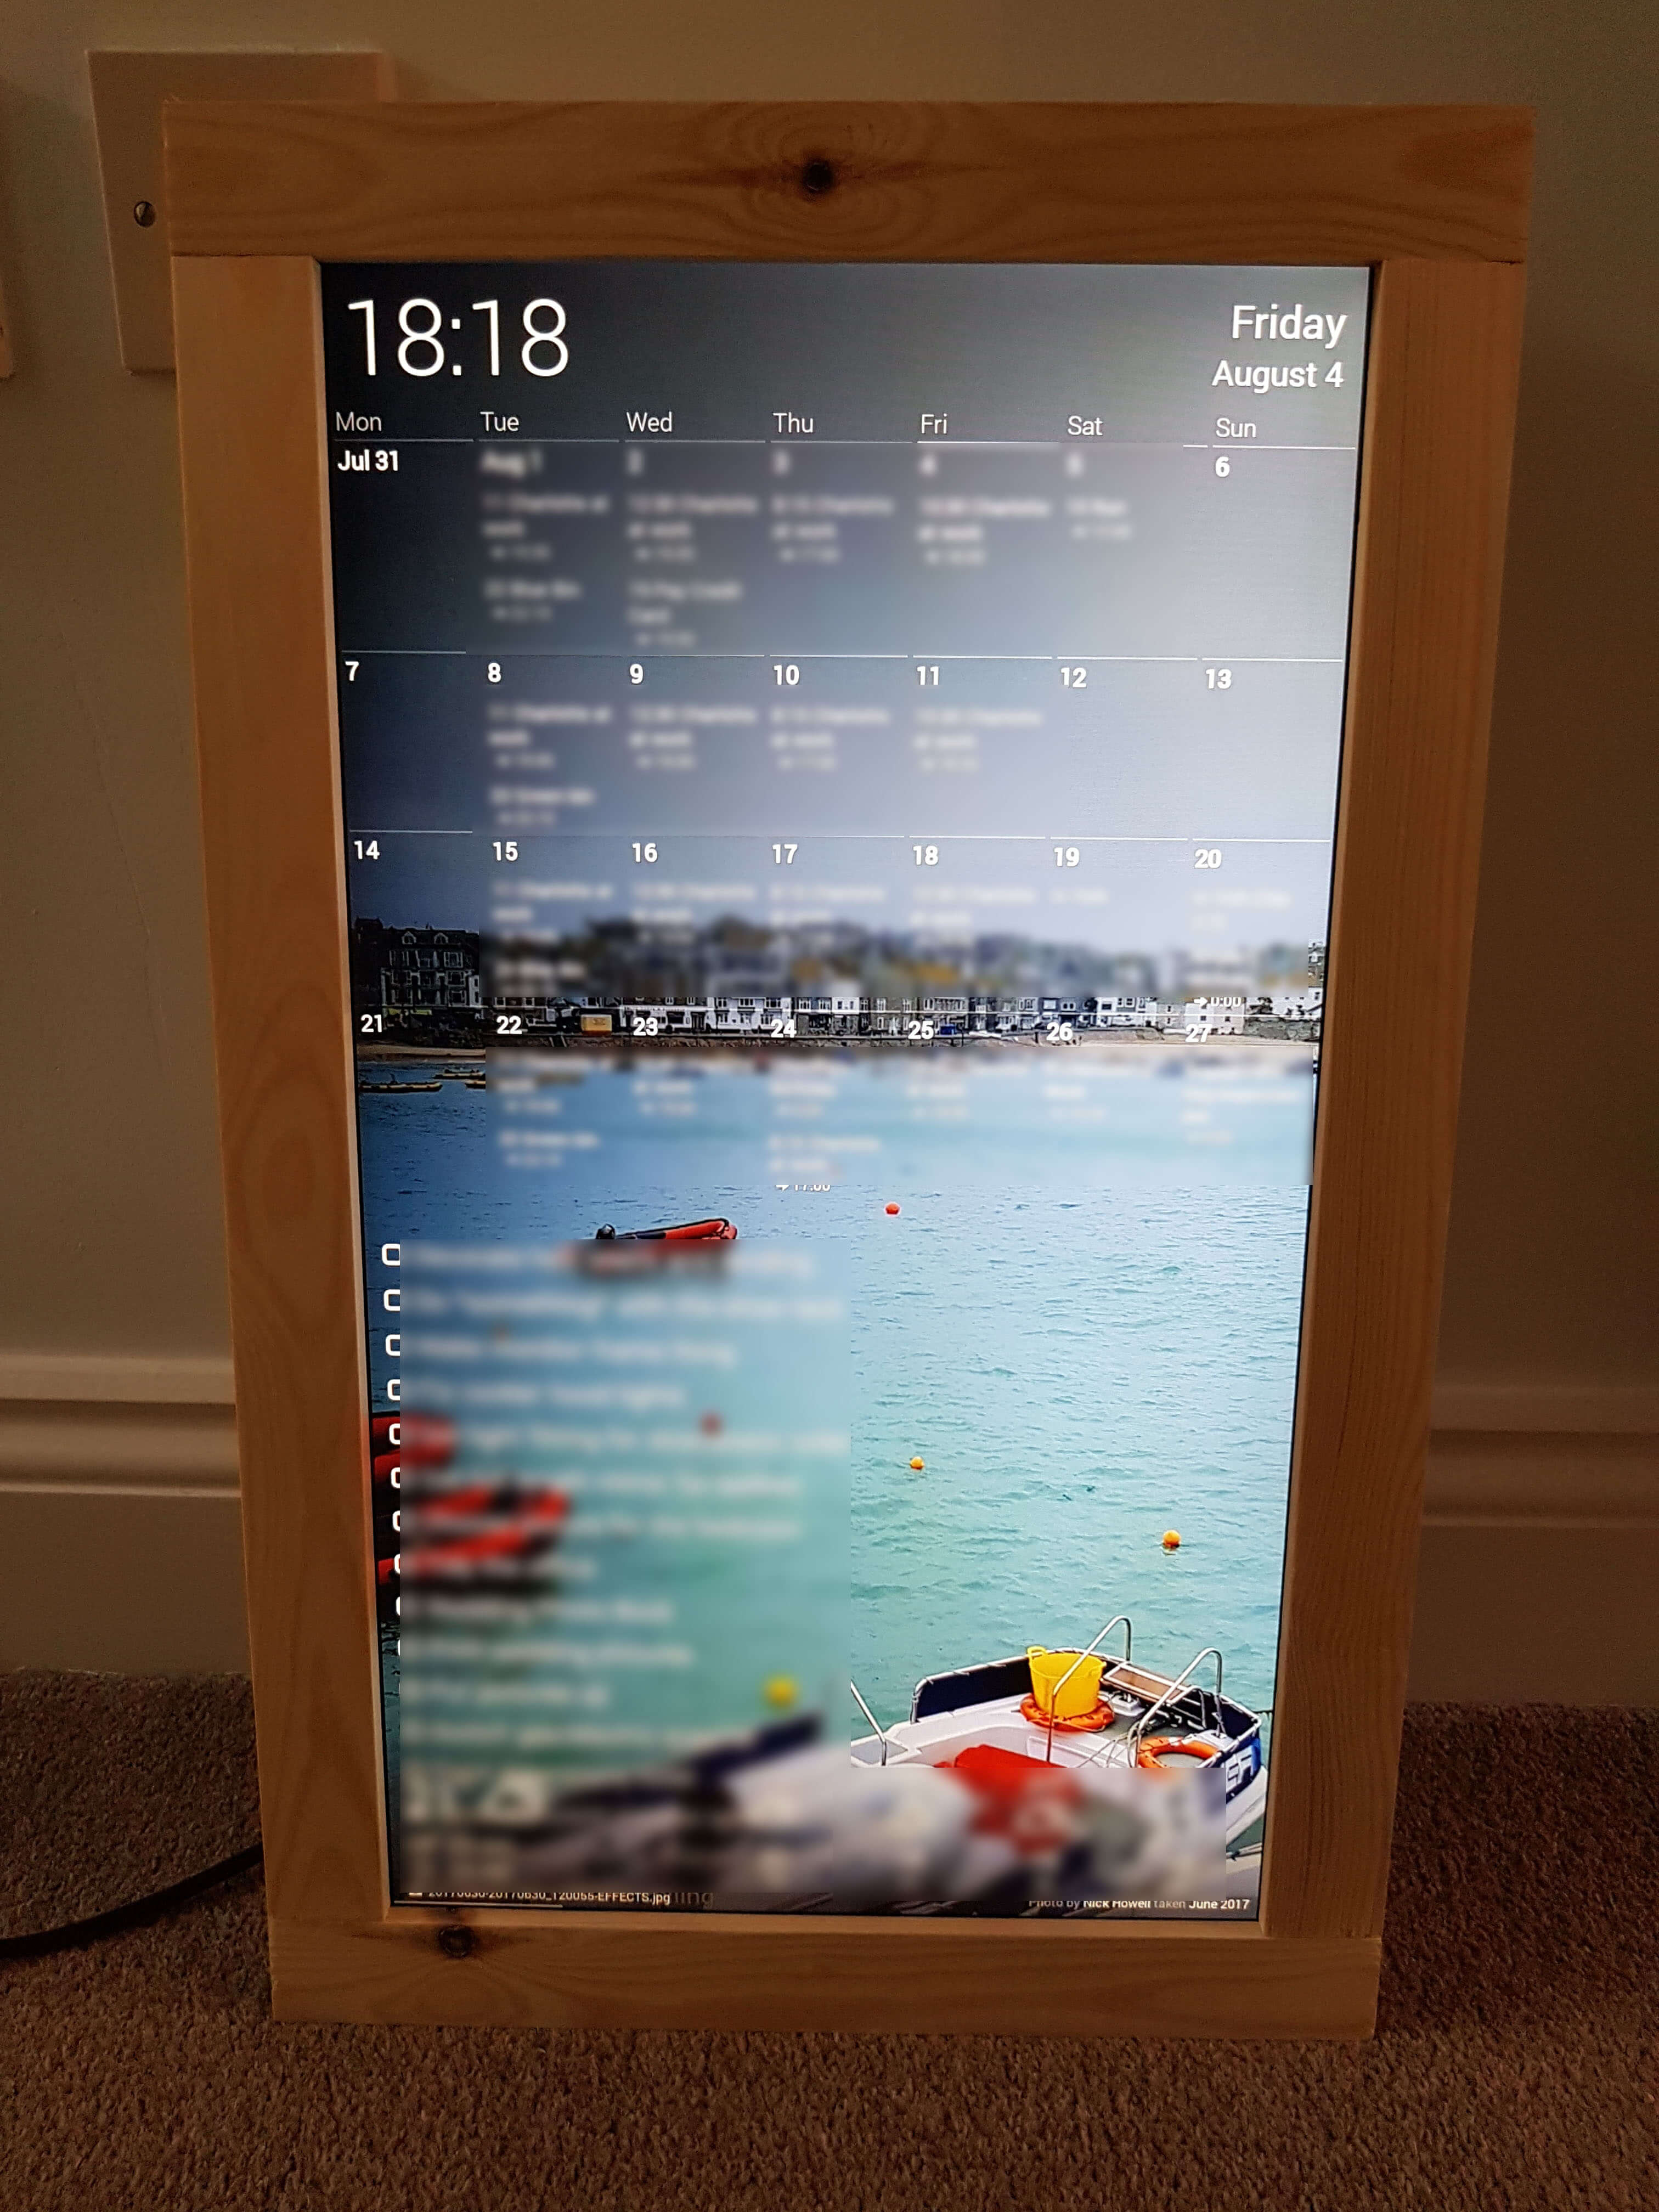
It worked!
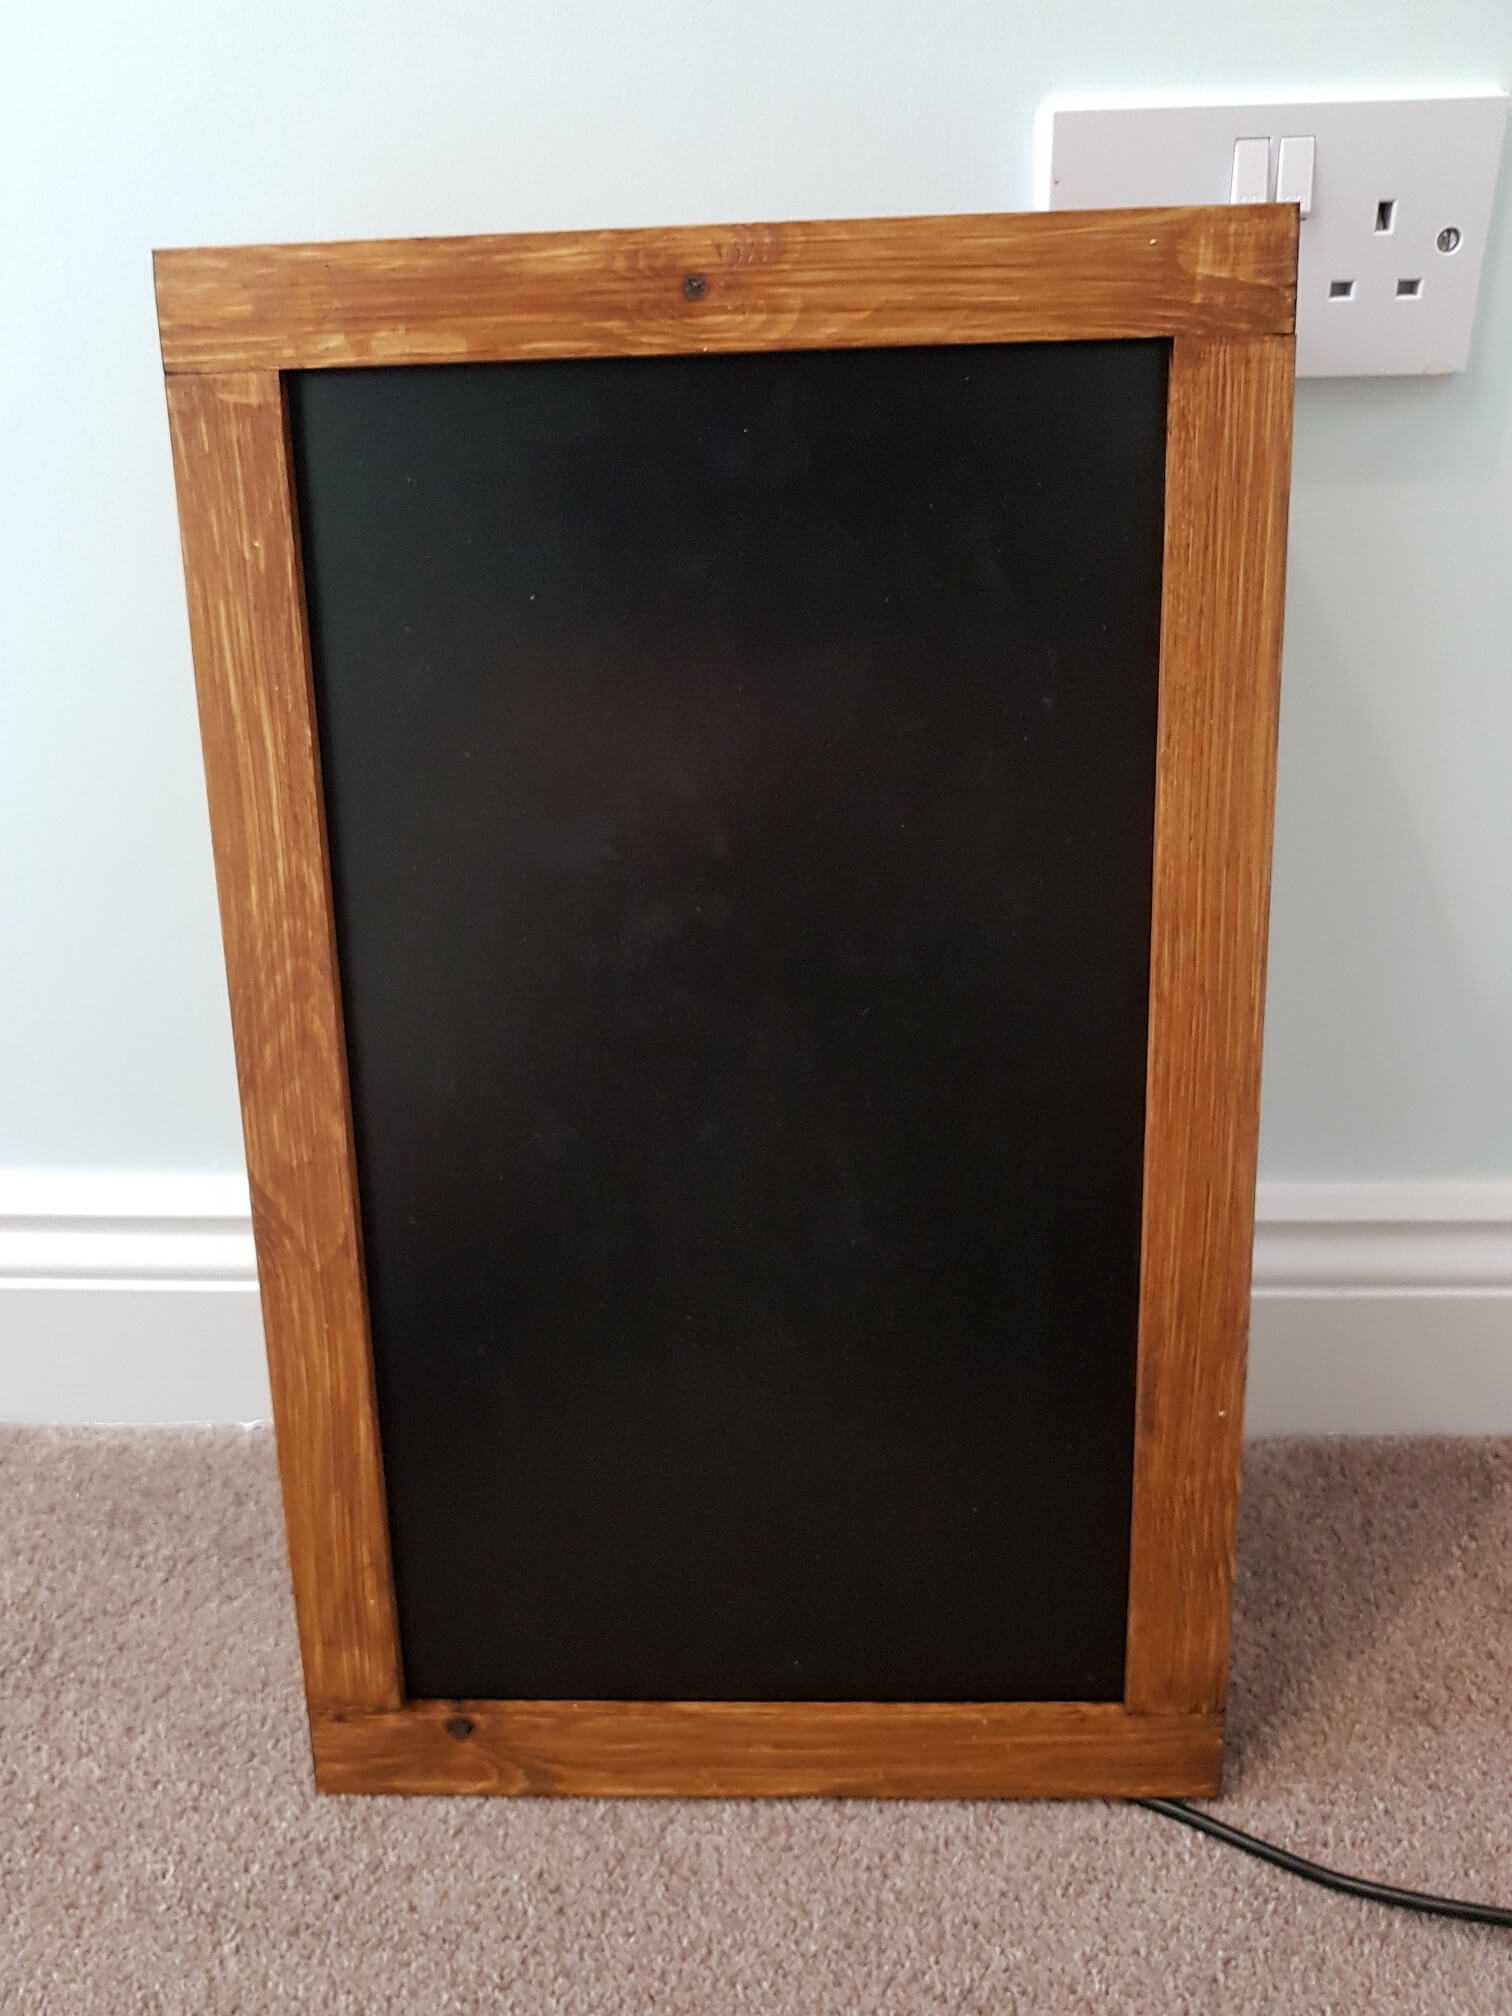
All that’s left now, is to paint it and attach it to the wall.
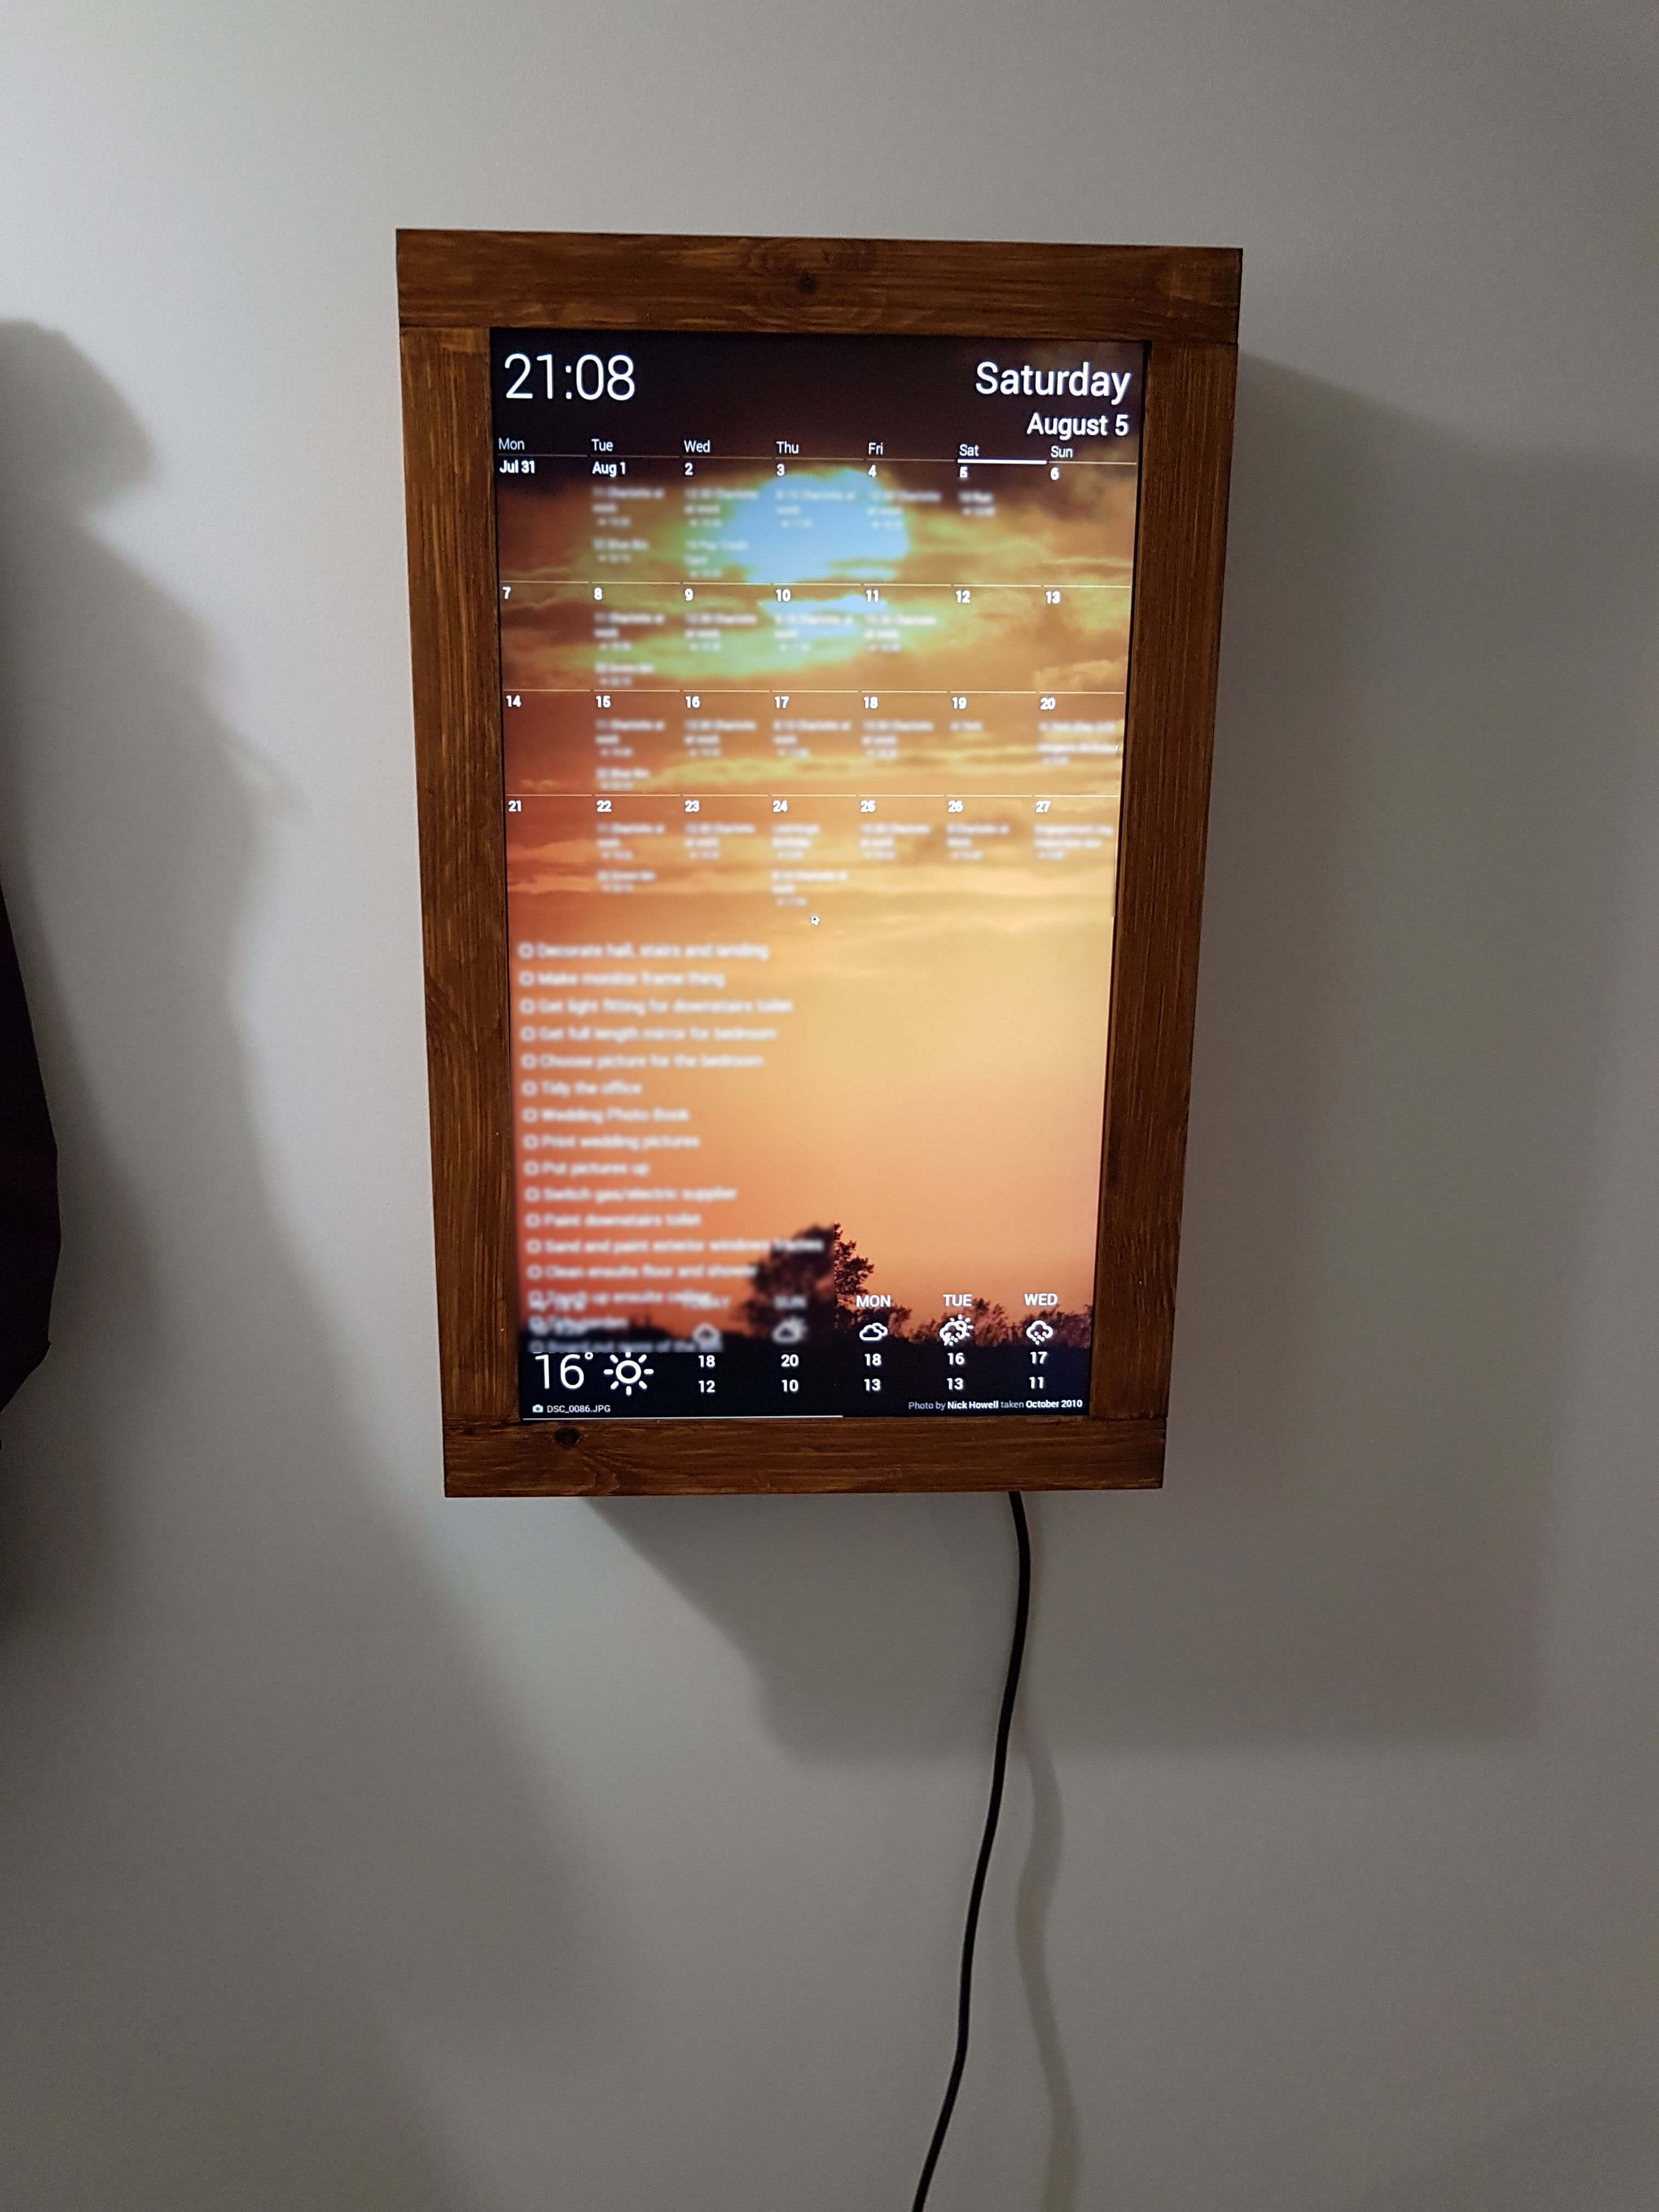
Update 2017-08-05:
I’ve painted the frame, and hung it on the wall now. Here are a few more photos of it in action. You may also spot my method of hanging it – some wire between two loops on the inside of either edge. That then hooks on to two giant picture hooks on the wall.